
Introduction:
Using Rit dye in the washing machine is a convenient and efficient way to dye large fabric items or multiple pieces at once. When done correctly, this method ensures even color distribution and excellent results. This comprehensive guide will take you through the step-by-step process of using Rit dye in your washing machine, from preparation to post-dyeing care, including tips for ensuring vibrant, long-lasting color and preventing staining of your machine.
How to Use Rit Dye in Washing Machine:
What Steps Should You Follow for Optimal Dyeing Results?
Preparation:
What Materials and Supplies Do You Need?
Before starting the dyeing process, gather all the necessary materials and supplies to ensure a smooth and successful experience.
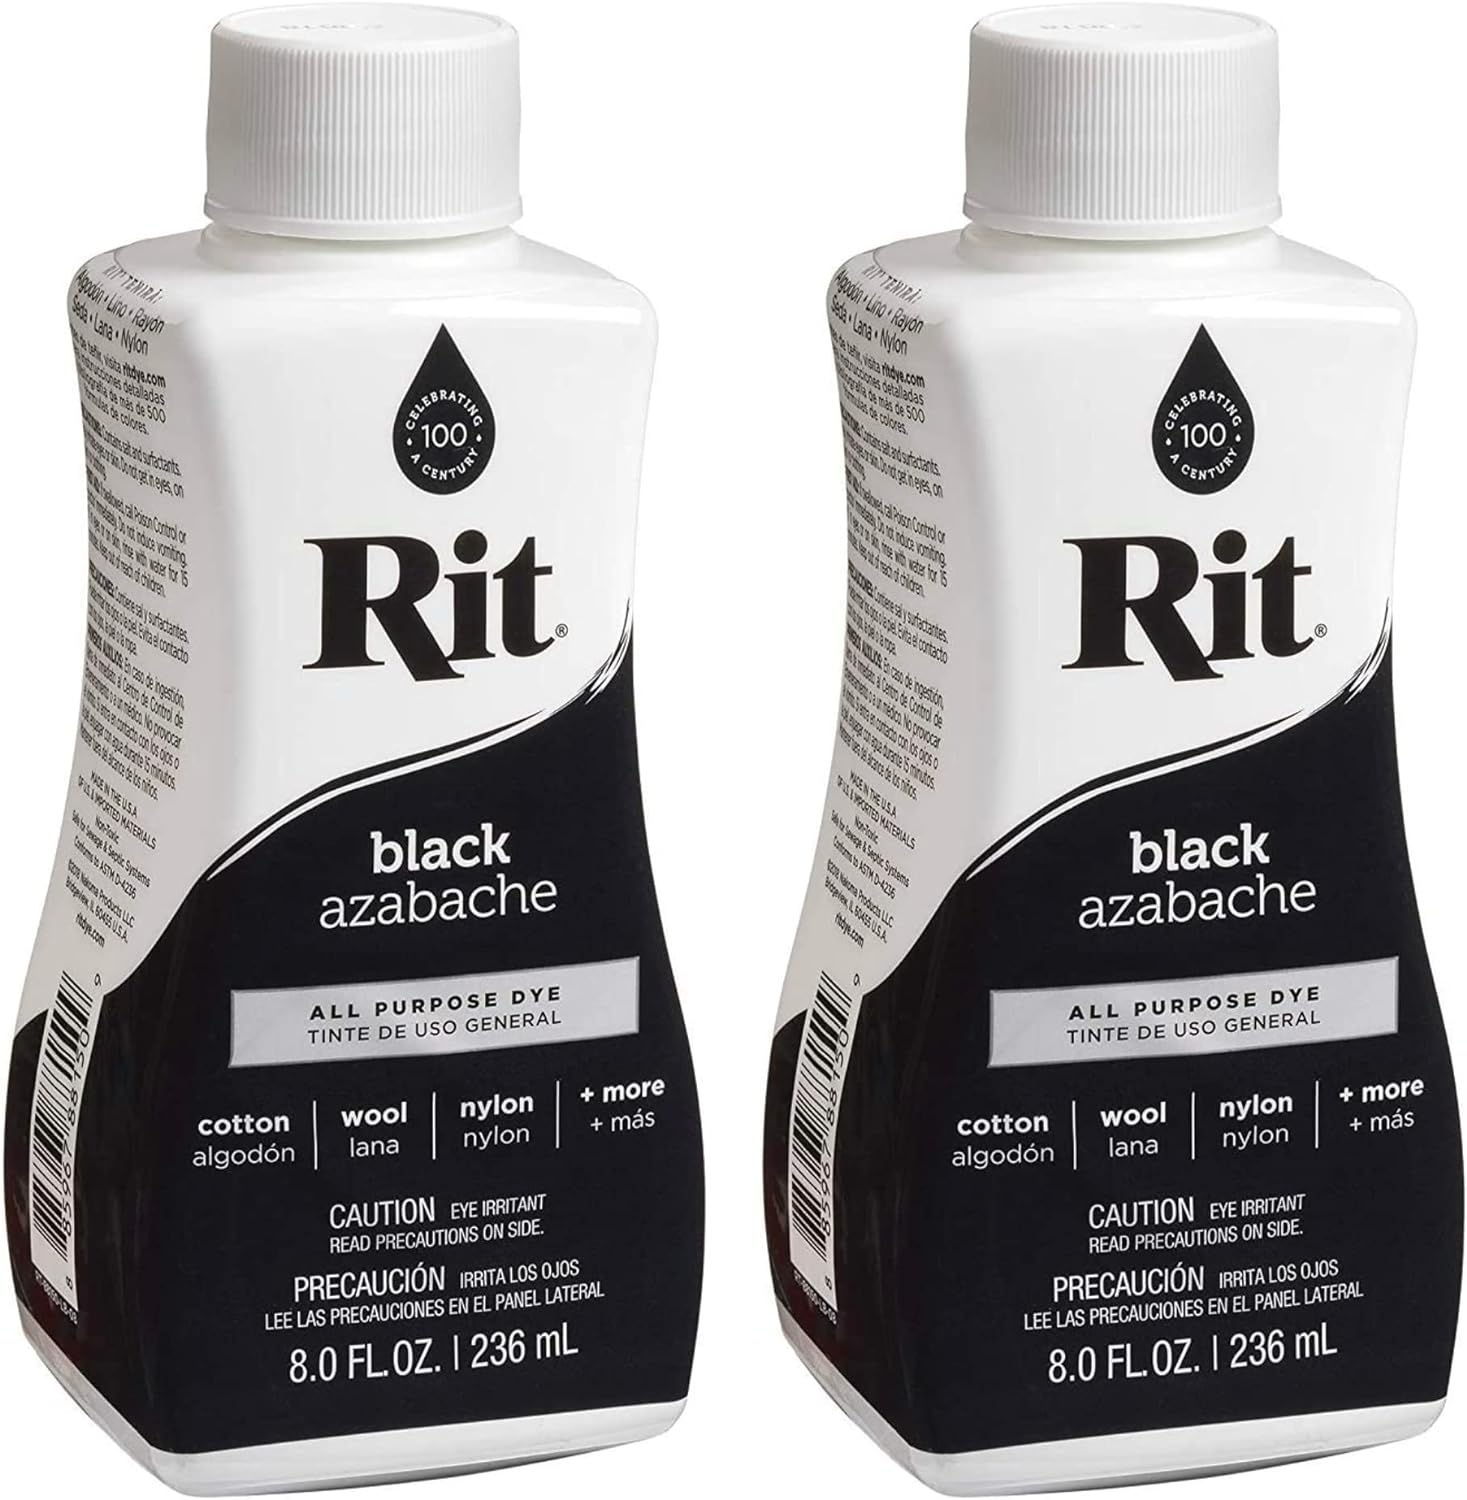
Rit Dye:
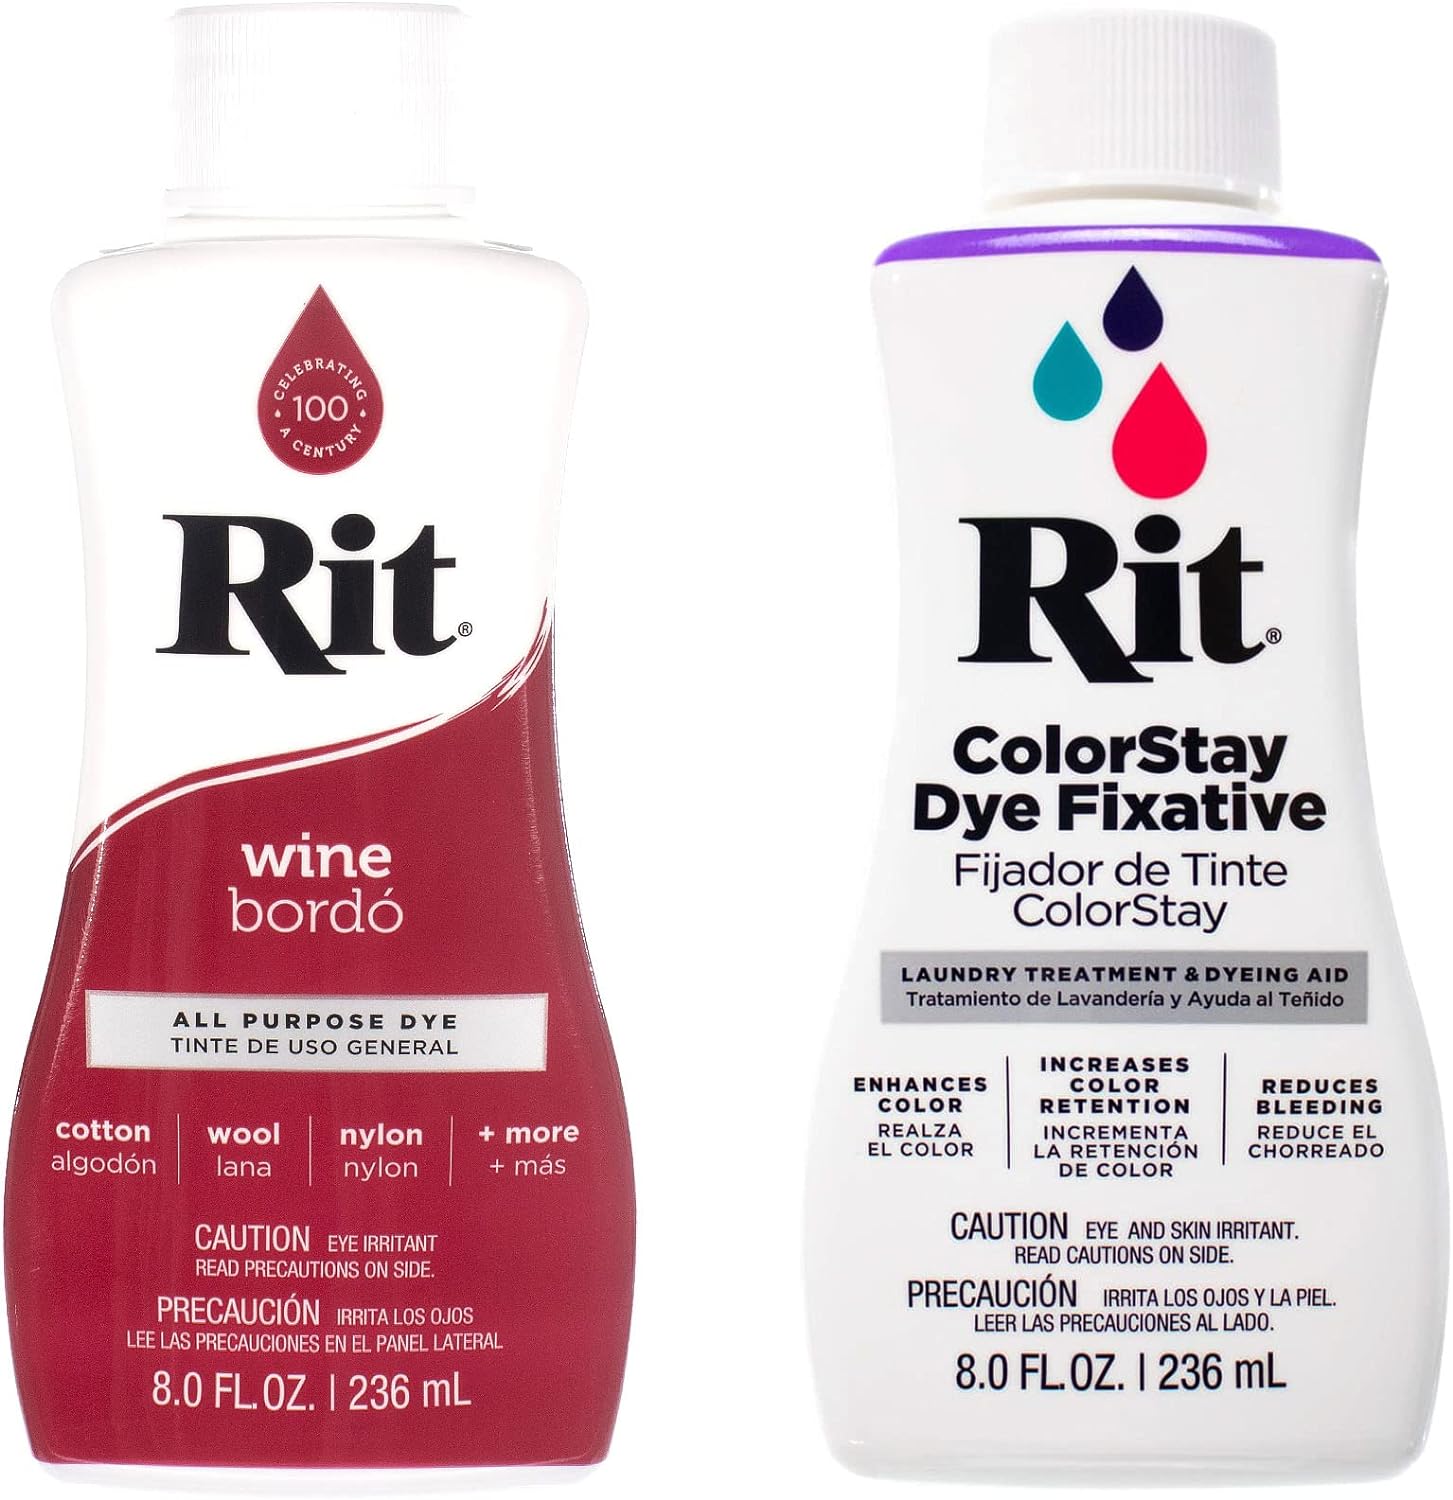
Type of Dye: Choose the appropriate Rit dye for your project. Rit offers all-purpose dye, which works on natural fibers like cotton, linen, and wool, as well as synthetic fiber dye for fabrics made from polyester, nylon, and acrylic.
Amount of Dye: Refer to the dye package instructions to determine the amount required based on the weight of the fabric. Generally, one bottle or packet will dye up to 2 pounds of fabric.
Additional Supplies:
Gloves: Wear rubber or latex gloves to protect your hands from staining and avoid skin irritation during the dyeing process.
Measuring Cup: Use a measuring cup for accurately measuring dye and other additives.
Mild Detergent: Have a mild detergent on hand to help clean the fabric before and after dyeing.
Salt or Vinegar: Depending on the fabric, you’ll need either salt (for cotton, linen, and rayon) or vinegar (for silk, nylon, and wool) to enhance dye absorption.
Preparation Steps:
Pre-Wash Fabric: Thoroughly wash the fabric with mild detergent to remove any dirt, oil, or finishes. This step ensures even dye absorption and prevents blotchiness. Do not use fabric softener during this wash.
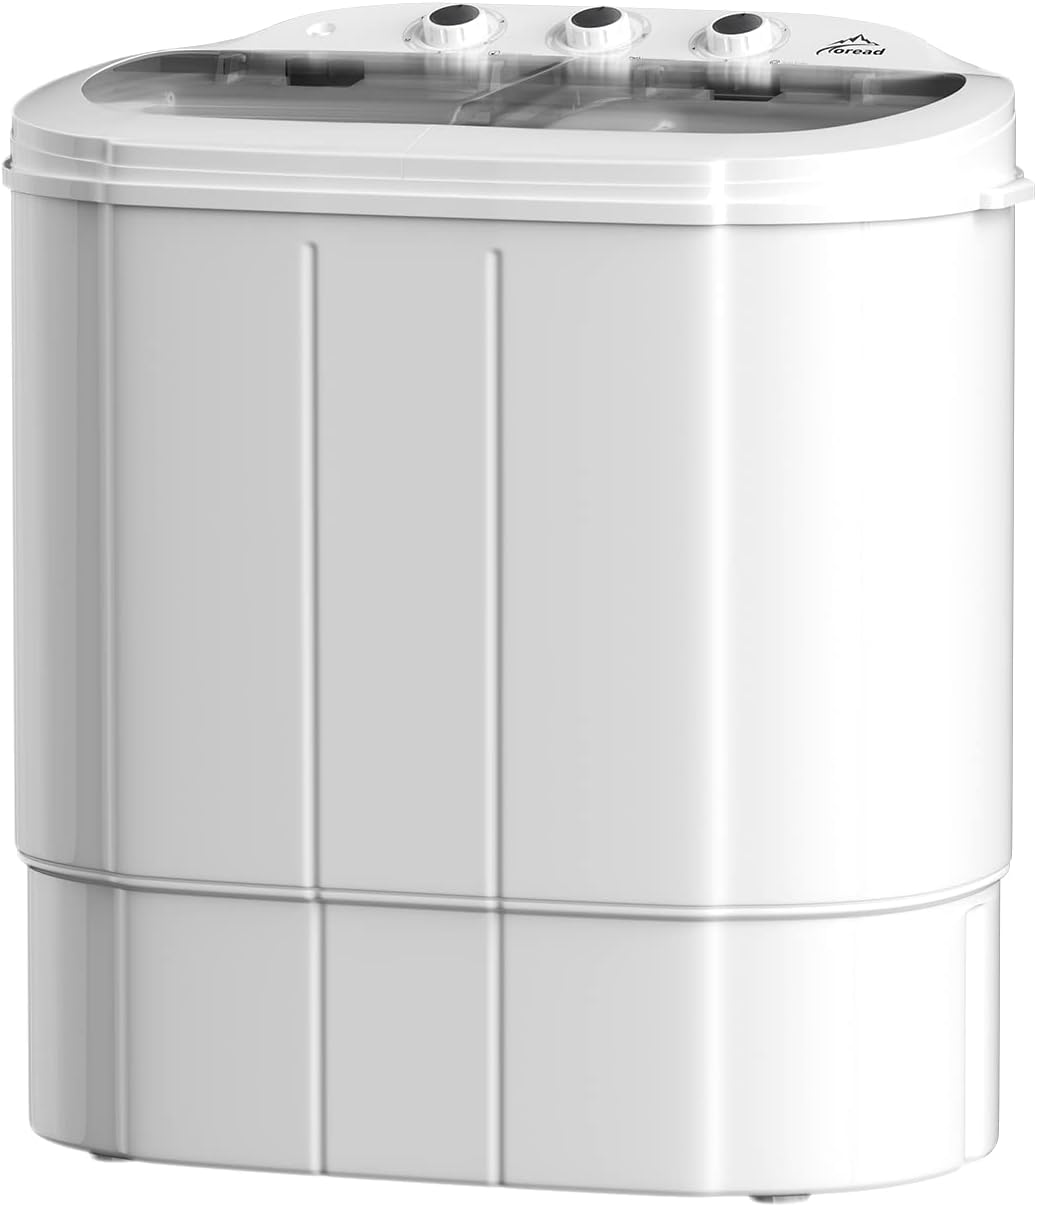
Set Up Washing Machine: Ensure your washing machine is clean and remove any items that might be inside. Check the manual to confirm that your machine is compatible with fabric dyeing.
Selecting the Right Dye:
How to Choose the Correct Rit Dye for Your Fabric?
Different types of fabrics require specific types of dye to achieve optimal results. Understanding which dye to use ensures vibrant, long-lasting color.
Natural Fibers:
Cotton, Linen, and Rayon: Rit All-Purpose Dye is ideal for natural fibers such as cotton, linen, and rayon. This dye penetrates these fabrics effectively, providing rich, even color.
Silk and Wool: For delicate natural fibers like silk and wool, Rit All-Purpose Dye works well, but the addition of vinegar rather than salt is necessary to ensure the dye bonds properly to the fabric.
Synthetic Fibers:
Polyester, Nylon, and Acrylic: Rit DyeMore Synthetic Fiber Dye is designed specifically for synthetic fabrics. These fibers require higher heat for dye absorption, and Rit DyeMore provides the necessary formulation to achieve vibrant colors.
Blended Fabrics: For blended fabrics that contain both natural and synthetic fibers, using a combination of Rit All-Purpose Dye and Rit DyeMore can yield better results. However, results may vary based on the fabric composition.
Dyeing Process:
How to Dye Your Fabric Using a Washing Machine?
Once you’ve prepared your fabric and chosen the appropriate dye, follow these steps to dye your fabric in the washing machine.
Fill the Washing Machine:
Water Temperature: Set the washing machine to the hottest water setting available. Hot water is essential for activating the dye and helping it penetrate the fabric effectively.
Water Level: Choose the appropriate water level based on the amount of fabric you’re dyeing. For large items or multiple pieces, use the highest water level to ensure even dye distribution.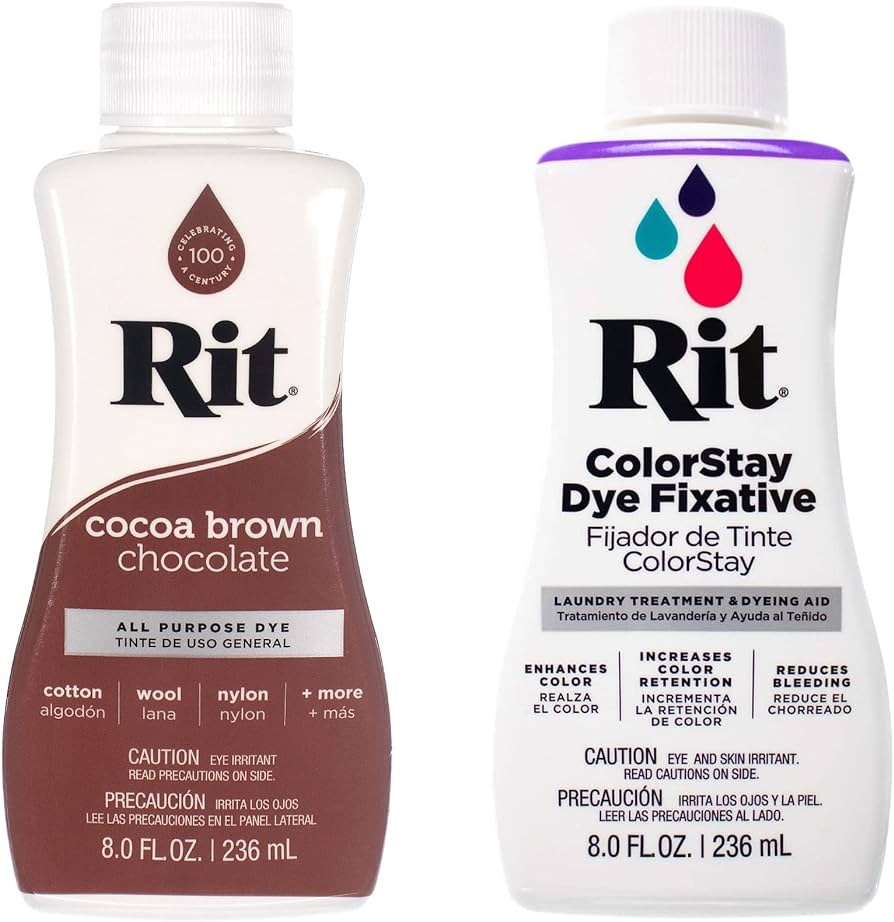
Add Dye and Enhancers:
Dissolve Dye: Pour the necessary amount of Rit dye into a container and dissolve it in about 4 cups of very hot water. Stir until completely dissolved, then add this mixture to the washing machine drum as it fills with water.
Add Enhancers: Add 1 cup of salt for cotton, linen, or rayon fabrics or 1 cup of white vinegar for silk, wool, or nylon. These enhancers help improve dye absorption. Add these directly to the washing machine drum after the dye.
Start the Wash Cycle:
Load Fabric: Quickly add the wet, pre-washed fabric to the washing machine. Ensure the fabric is fully submerged and able to move freely throughout the wash cycle.
Agitate: Run the washing machine for a 30-minute cycle at the highest setting. If your machine has a soak cycle, consider extending the soak time to allow the dye to bond thoroughly with the fabric.
Rinse and Clean:
Rinse Cycle: After the initial dye cycle completes, run the washing machine through an additional rinse cycle with warm water. This step helps remove any excess dye from the fabric.
Final Rinse: Follow with a final rinse cycle using cold water to ensure the fabric is thoroughly rinsed and the dye is fully set.
Post-Dyeing Care:
Wash Fabric: Wash the dyed fabric separately with mild detergent in cold water to prevent any remaining excess dye from transferring to other items. Avoid using fabric softener, as it can interfere with dye setting.
Air Dry: Air-dry the fabric or use a low-heat setting in the dryer. High heat can cause dye bleeding or uneven drying.
Cleaning the Washing Machine:
How to Prevent Staining and Residual Dye?
Thoroughly cleaning the washing machine after dyeing is essential to avoid staining future loads of laundry.
Clean Immediately:
Empty Drum: As soon as the dyeing process is complete, wipe down the interior of the washer drum with a damp cloth to remove any dye residue.
Bleach Cycle: Run the washing machine empty on a hot cycle with 1 cup of chlorine bleach added directly to the drum. This step helps neutralize and remove any remaining dye.
Rinse: After the bleach cycle, run an additional rinse cycle with hot water to ensure no bleach residue remains in the machine.
Final Check:
Inspect Drum: Carefully inspect the washing machine drum for any signs of dye residue. Repeat the bleach cycle if necessary until the machine is completely clean.
Maintenance Tips: Regularly clean your washing machine to maintain its efficiency and prevent dye or detergent buildup. Monthly cleaning with a washing machine cleaner can help keep your appliance in top condition.
Troubleshooting:
What to Do If Dyeing Results Are Not as Expected?
Even with careful preparation and execution, dyeing results can sometimes be unpredictable. Here’s how to address common issues.
Uneven Color:
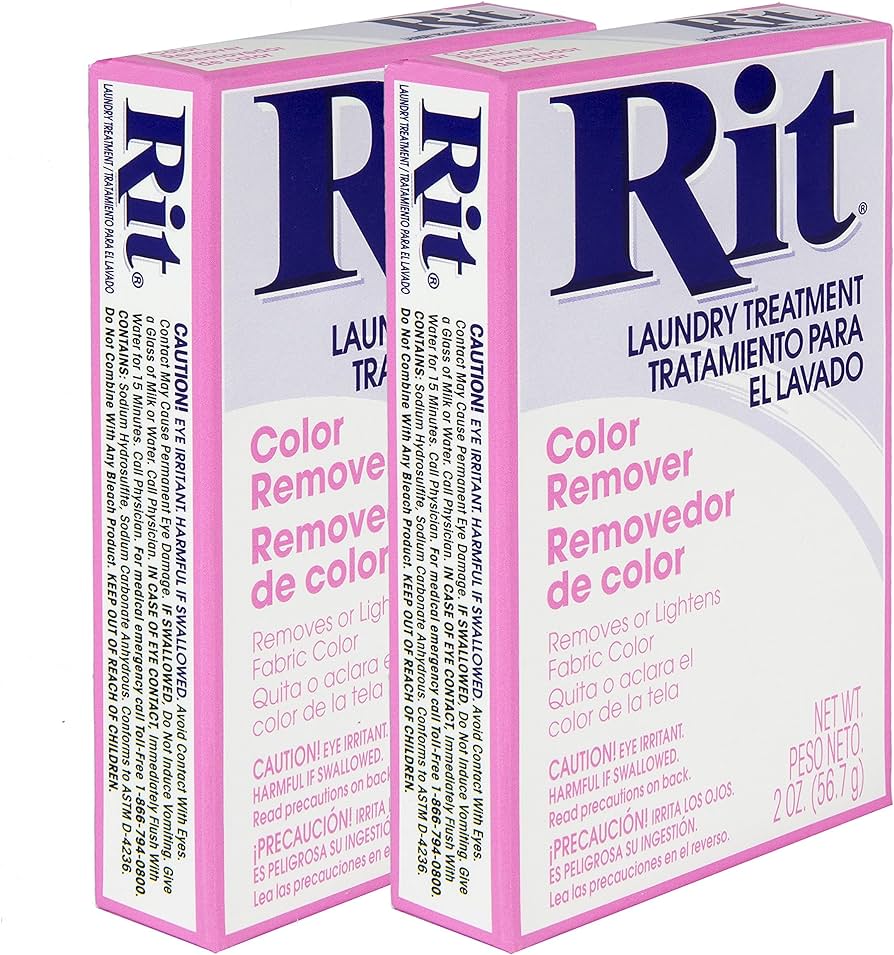
Re-dyeing: If the color is uneven, consider re-dyeing the fabric using the same process. Ensure the fabric moves freely in the washer and fully submerges in the dye.
Stirring: Manually stirring or repositioning the fabric during the washing cycle can help achieve more even color distribution.
Color Too Light:
Additional Dye: If the color is too light, add more dye to the washing machine and repeat the dyeing process. Increasing the dye concentration can deepen the color.
Extended Time: Allow the fabric to soak longer in the dye bath to enhance color absorption. Extending the dyeing time can yield richer, more saturated hues.
Color Bleeding:
Fixative: Use a fabric dye fixative to set the color and reduce bleeding. Add the fixative to the final rinse cycle and follow the product instructions for best results.
Separate Washes: Wash newly dyed items separately for the first few washes to prevent color bleeding onto other fabrics.
Conclusion
Using Rit dye in the washing machine offers a convenient and effective way to transform your fabrics with vibrant, consistent color. By following the outlined steps, from preparation to post-dyeing care, you can achieve impressive results while protecting your washing machine from staining. Proper cleaning and maintenance practices ensure your appliance remains in excellent condition, ready for its next use. Whether you’re rejuvenating old garments or creating new custom pieces, understanding the dyeing process and implementing best practices allows you to make the most of Rit dye’s possibilities.