
Replacing a bathroom exhaust fan can seem like a daunting task, but with the right tools and information, it can be a straightforward DIY project. An exhaust fan is essential for controlling moisture and odors in your bathroom, preventing mold growth, and improving air circulation. This guide on how to replace a bathroom exhaust fan should empower you to tackle this project with confidence and achieve a more efficient ventilation system in your bathroom.
Understanding the Need for Replacement
Signs Your Exhaust Fan Needs Replacement
Over time, bathroom exhaust fans can become inefficient or even fail altogether. Here are some indicators that your fan might need replacing:
- Noise Level: If your exhaust fan starts making loud, unusual noises, it may be approaching the end of its lifespan.
- Insufficient Airflow: Noticeable decreased airflow can signal that the fan is no longer effective in ventilating the bathroom.
- Moisture Problems: If you see condensation on mirrors or walls, or if mold begins to form, your fan may not be adequately removing humidity.
- Age: Most bathroom fans last about 10-15 years. If yours is older than this, it might be time for a replacement.
Benefits of a New Exhaust Fan
Replacing an old fan with a new, more efficient model can offer numerous benefits, including:
- Improved Air Quality: New fans often use advanced technology to better filter and circulate air.
- Energy Efficiency: Many modern units consume less energy, which can save on electricity bills.
- Quiet Operation: Newer models are designed to operate more quietly, which improves the overall comfort of your bathroom.
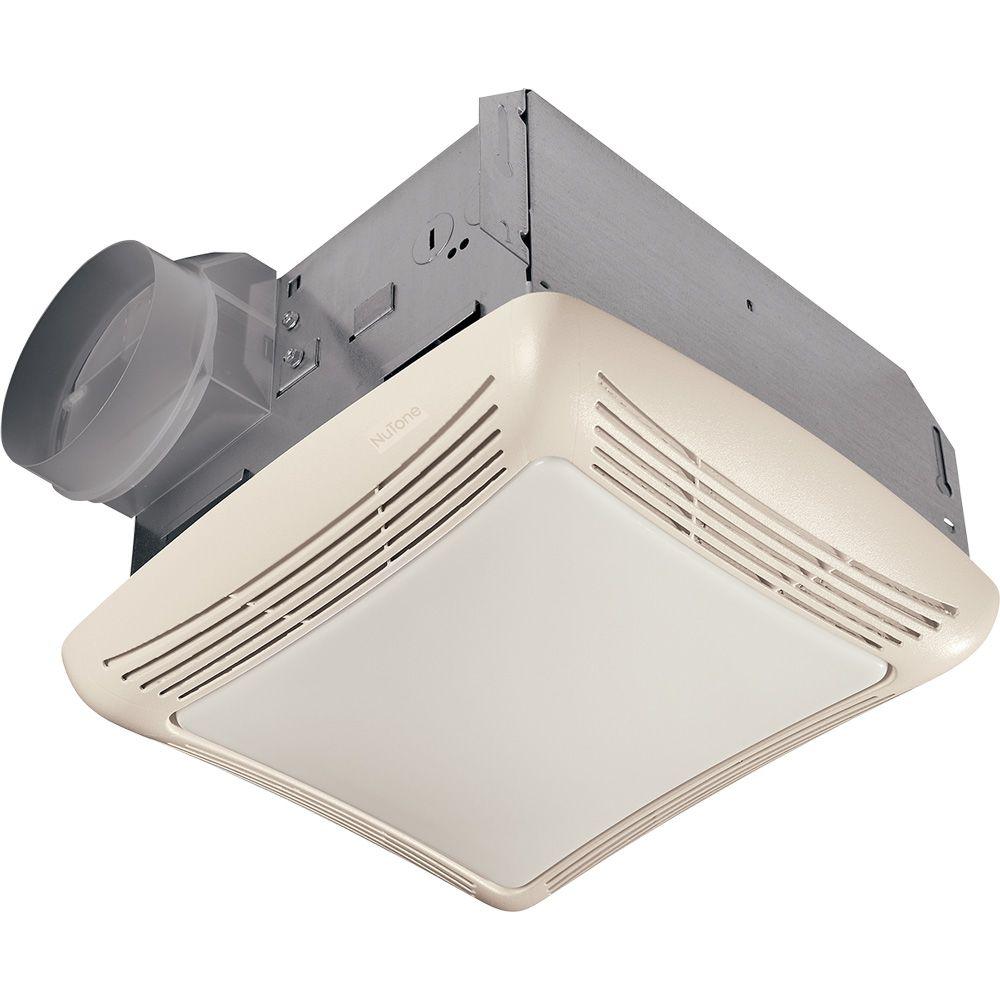
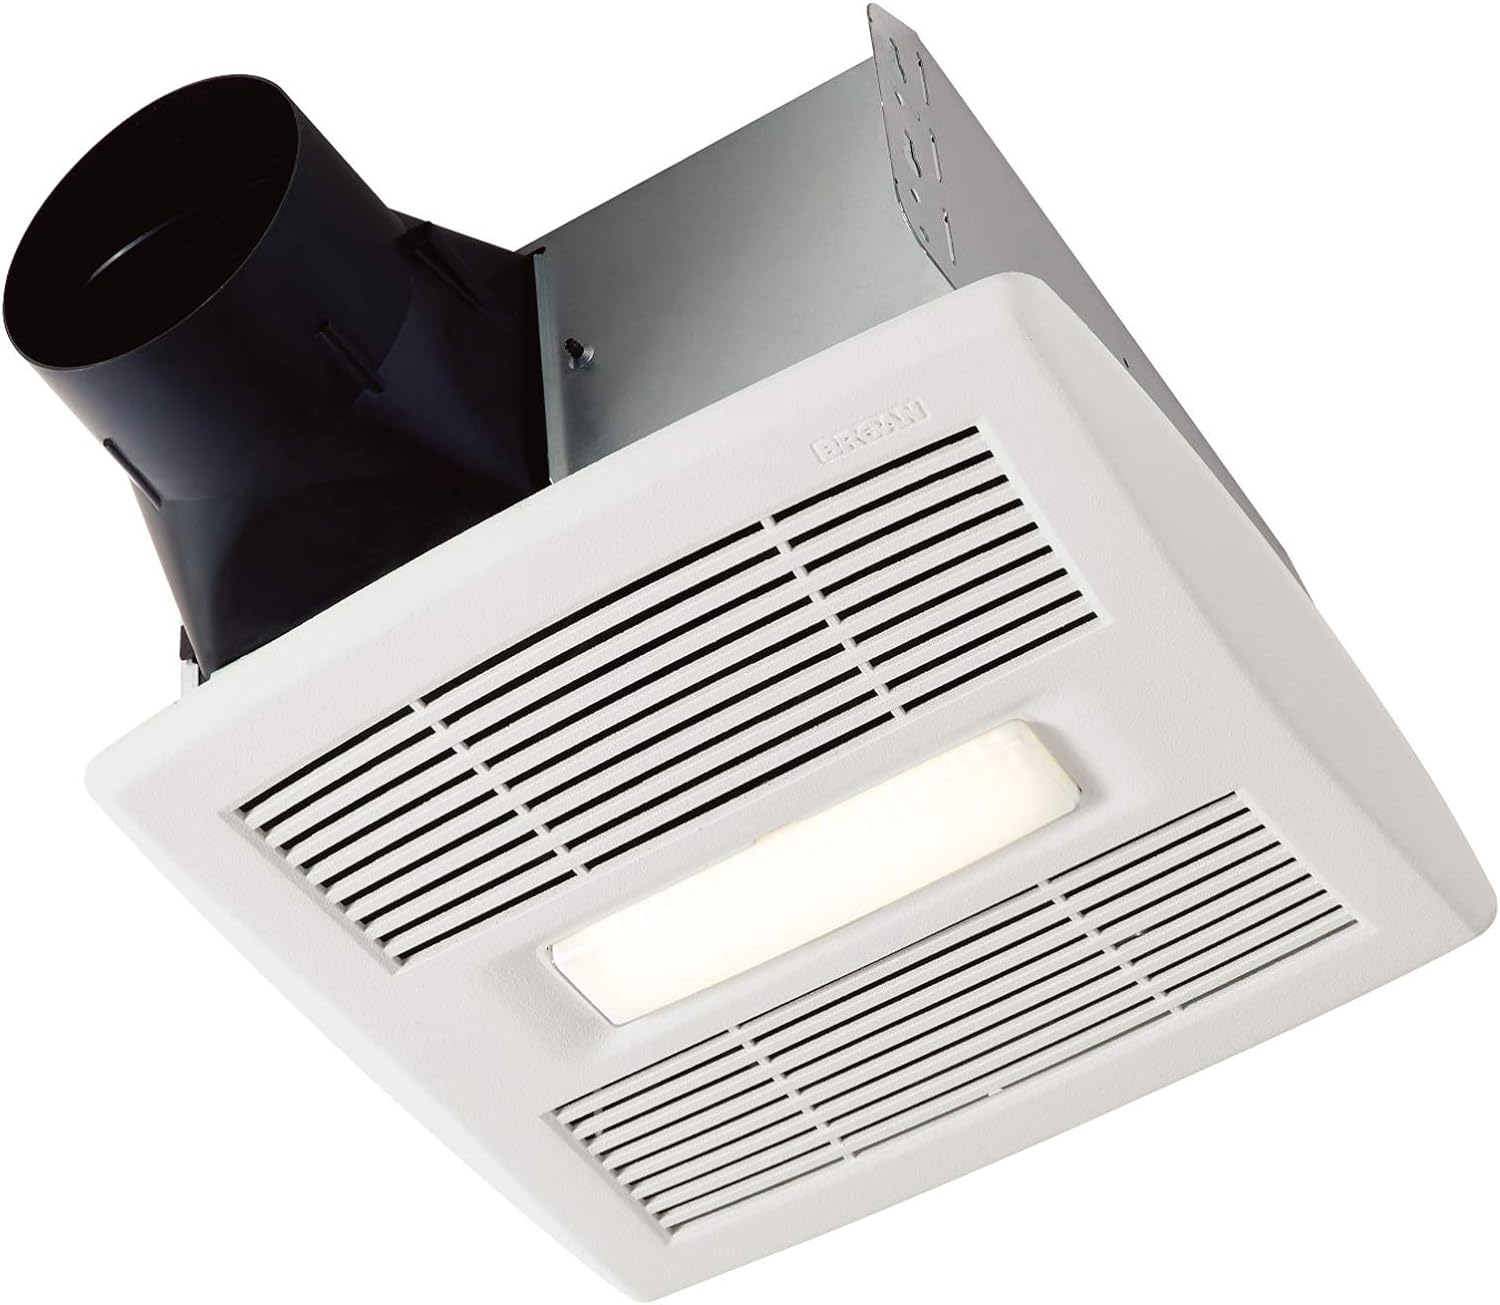
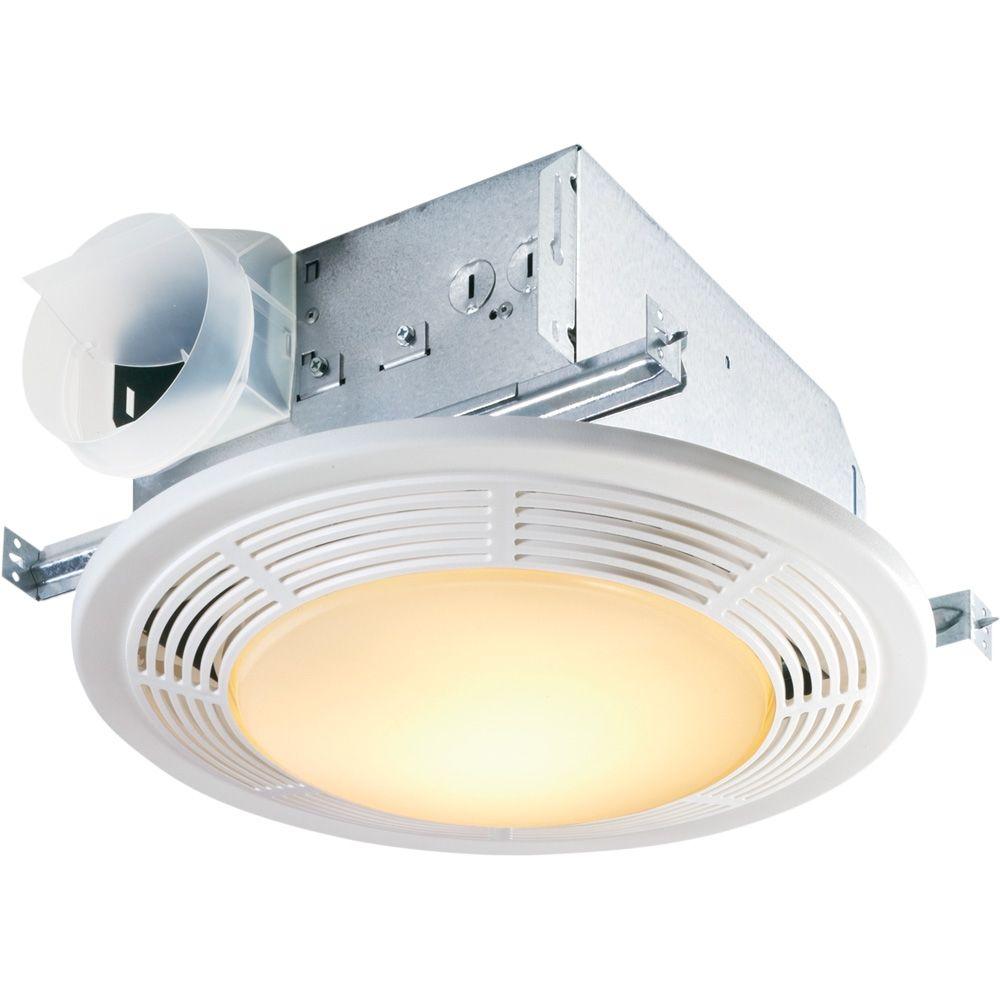
- Enhanced Features: New exhaust fans often come with added features, such as lights, timers, or humidity sensors that adjust the fan’s operation based on the bathroom’s moisture level.
Preparing for the Replacement
Tools and Materials You’ll Need
Before diving into the replacement process, gather the following tools and materials:
- Screwdriver: Phillips and flathead screwdrivers for removing the old fan.
- Wrench or Pliers: For loosening any fasteners.
- Stud Finder: Useful for locating ductwork and existing electrical wires.
- Voltage Tester: Ensures power is off before working on electrical components.
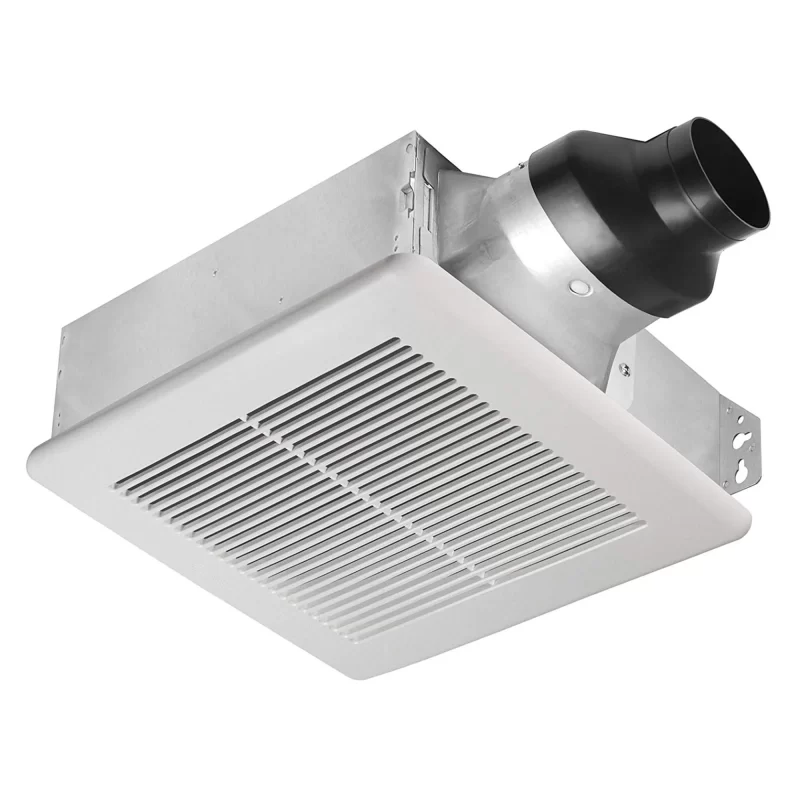
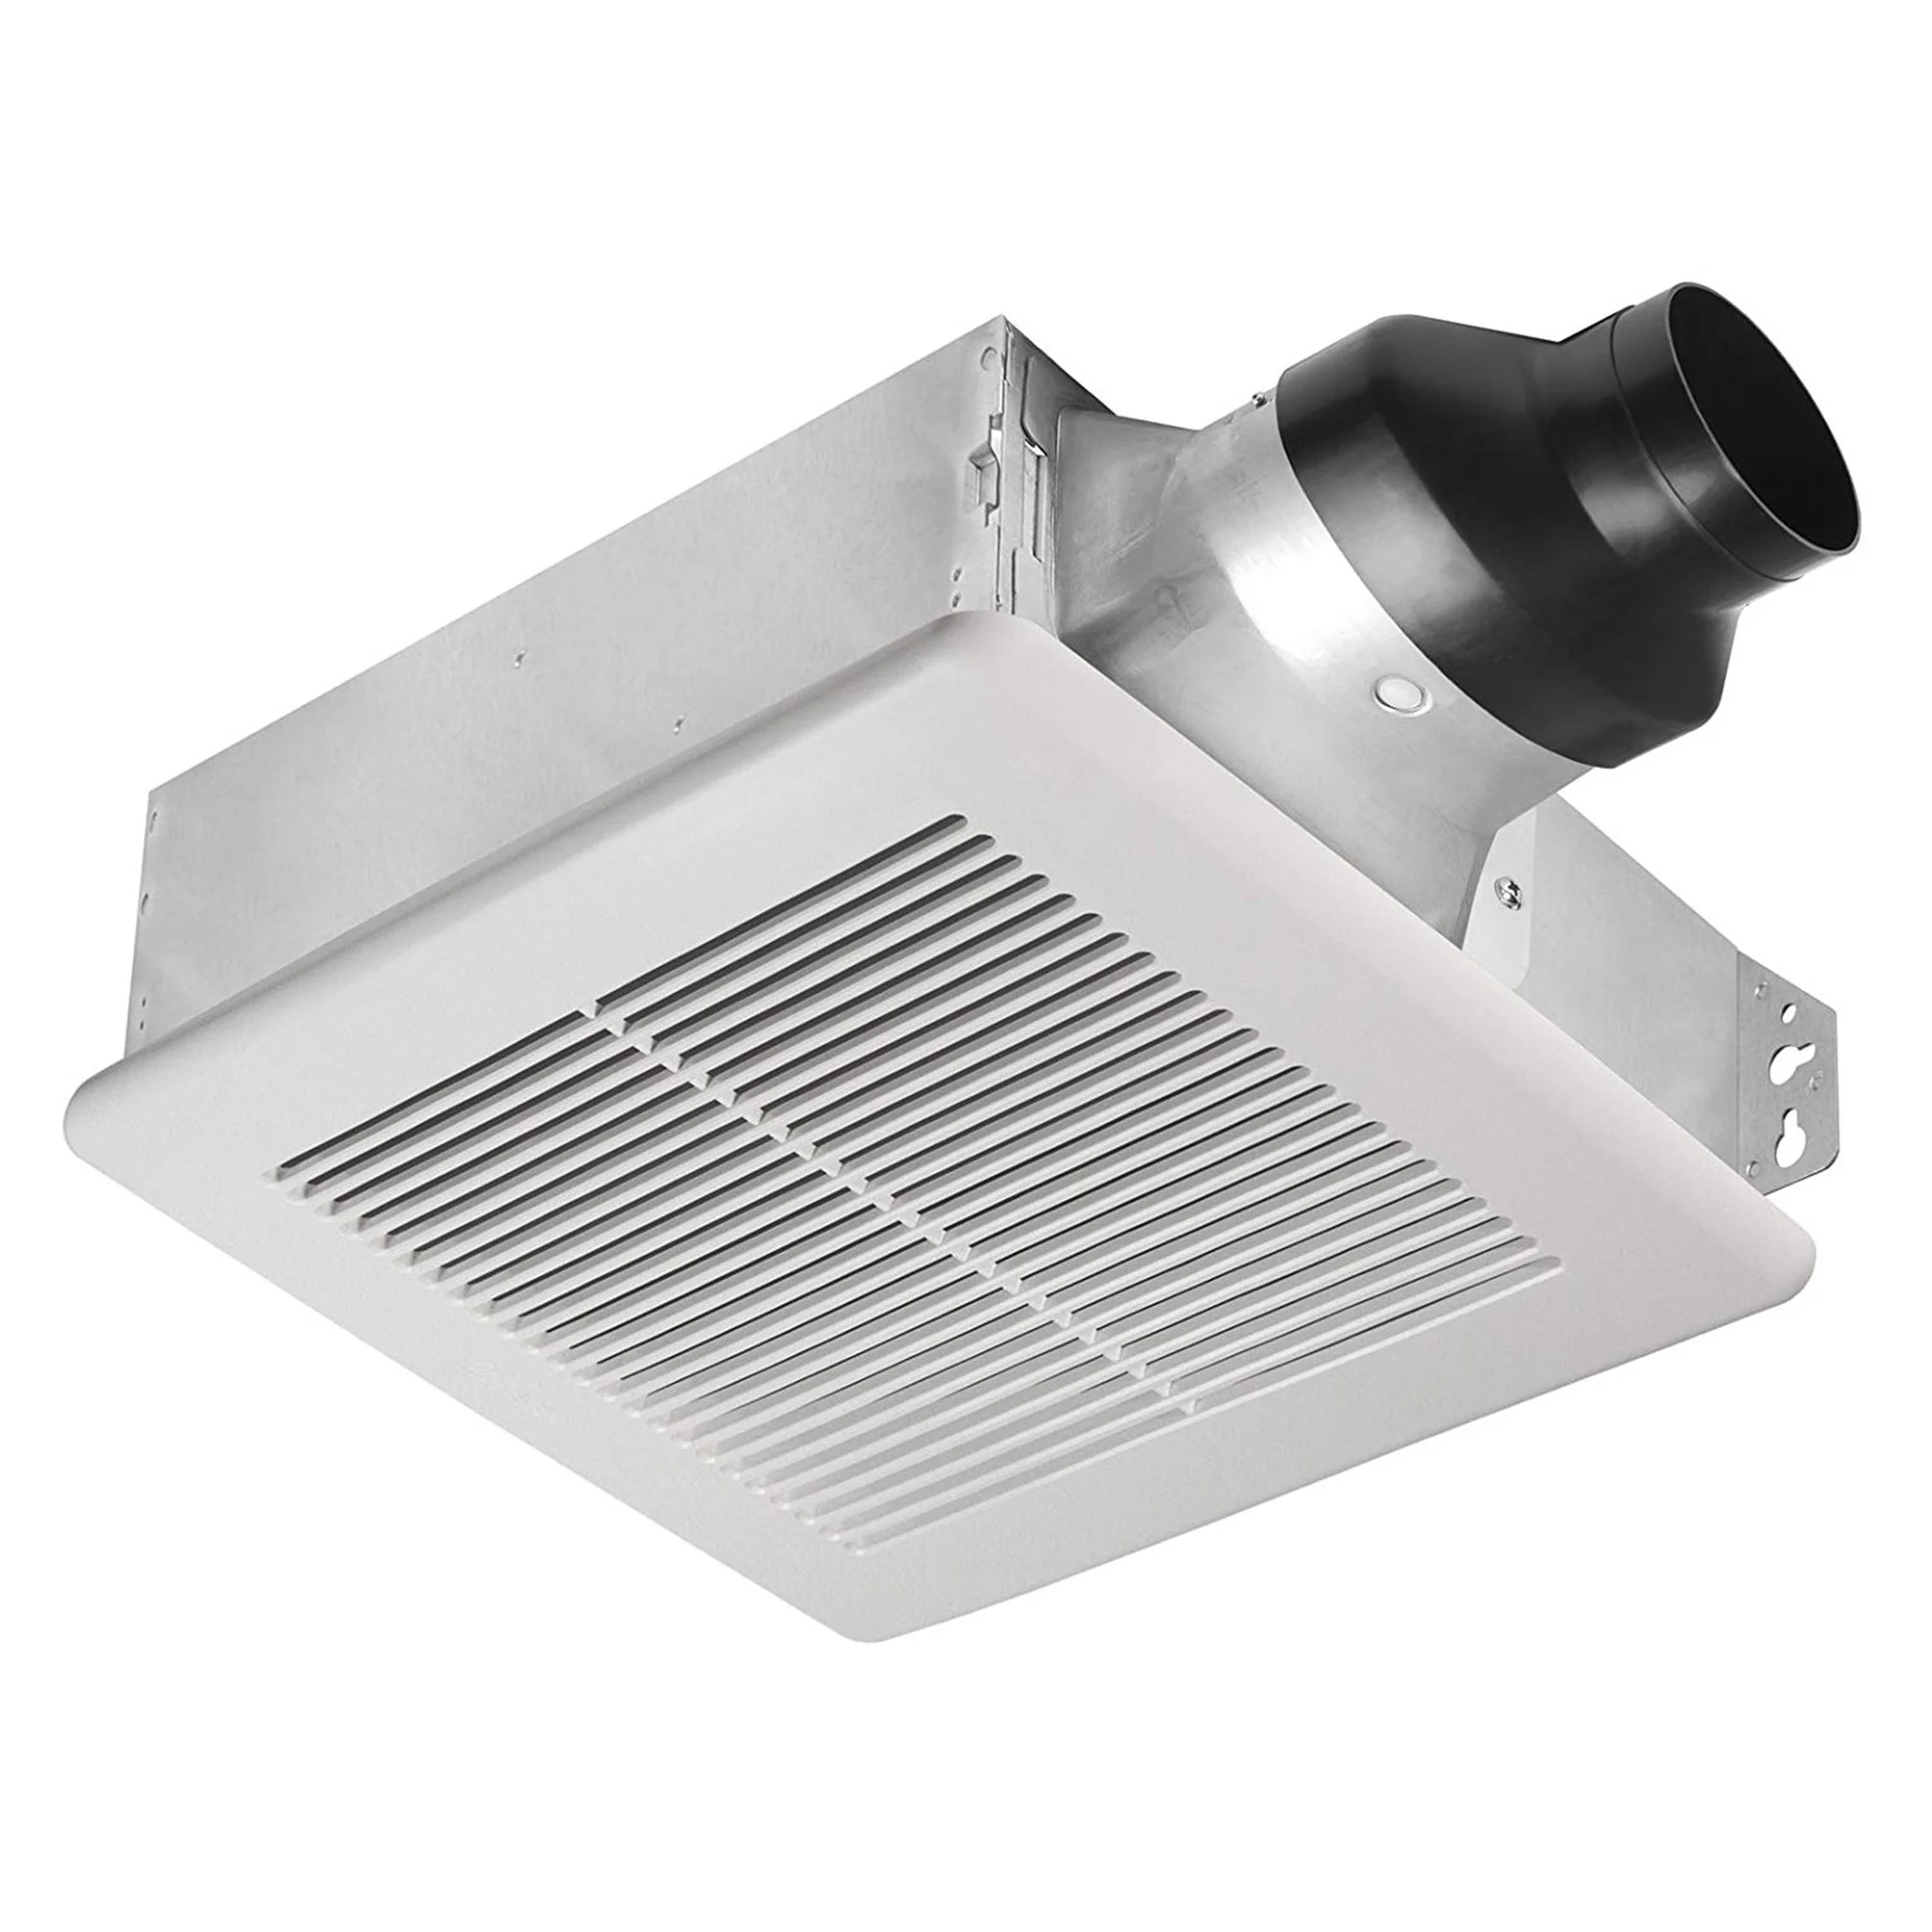
- New Exhaust Fan: Consider one with the right specifications for your bathroom size.
- Duct Tape: For sealing duct connections.
- Safety Gear: Gloves, safety glasses, and a dust mask.
Choosing the Right Exhaust Fan
When it comes to selecting a replacement fan, consider the following factors:
- CFM Rating: Cubic Feet per Minute (CFM) measures the fan’s airflow. Choose a fan that is rated at least 1 CFM per square foot of bathroom space.
- Noise Level: Check the sones rating. A rating of 1.0 sones or less is considered quiet.
- Features: Decide if you want added features like integrated lighting, adjustable speed controls, or humidity sensors.
- Style: Consider your bathroom’s design and aesthetics.
Safety Precautions
Safety is paramount when replacing an exhaust fan. Before starting, ensure you take the following precautions:
- Power Off: Turn off the power at the breaker and double-check with a voltage tester.
- Ventilation: Ensure ample ventilation in the work area, especially if using adhesives or other materials that produce fumes.
- Clear the Workspace: Remove any items that might obstruct your work area.
Removal of the Old Exhaust Fan
Step 1: Turn Off the Power
Always start by turning off the electrical circuit that supplies power to the exhaust fan. This is crucial to prevent any electrical shocks while you work.
Step 2: Remove the Fan Cover
Most fan covers are secured by screws or can be gently pried off. Use a screwdriver to remove any screws, and carefully detach the cover from the fan assembly.
Step 3: Disconnect the Fan from the Ceiling
Once the cover is removed, look for the mounting screws securing the fan to the ceiling. Remove these screws and carefully pull the fan down from its housing.
Step 4: Disconnect the Wiring
Now you will need to disconnect the electrical wires. Carefully unscrew the wire nuts connecting the fan’s wires to the house wiring. Be sure to take note of the color-coded wires (typically black for the live wire, white for neutral, and green or bare for ground).
Step 5: Remove the Ducting
If your fan is venting through ductwork, carefully detach the duct from the fan. You may need to use duct tape or clamps to disconnect it, so have your pliers handy. Avoid damaging the duct as you remove the old fan.
Installing the New Exhaust Fan
Step 1: Prepare the New Fan
Before installation, ensure you have read all manufacturer’s instructions for your new fan. Make sure you understand how it will mount, and confirm the direction of airflow (usually indicated by arrows on the fan housing).
Step 2: Connect the Ductwork
If your new exhaust fan uses similar ducting as the old one, reconnect the duct before securing the fan in place. Use duct tape or clamps to ensure a tight seal; this helps maximize airflow efficiency.
Step 3: Wire the New Fan
With the duct connected, proceed to wire your new fan. Connect the corresponding wires (black to black, white to white, and ground to ground). Make sure to secure the connections with wire nuts.
Step 4: Mount the Fan to the Ceiling
Position the fan into the ceiling housing and secure it with screws. Make sure it is level and securely fastened. Double-check that the fan’s airflow direction matches the previous installation and that it’s unobstructed.
Step 5: Install the Fan Cover
Once the mounting screws are tightened, replace the fan cover by either screwing it on or snapping it into place, depending on the design.
Powering Up and Testing
Step 1: Turn the Power Back On
Return to the electrical panel and turn the breaker back on to restore power to the bathroom.
Step 2: Test the Fan
After the power is restored, turn on the fan to check if it operates as expected. Note if it’s making any unusual sounds or exhibiting reduced airflow.
Step 3: Inspect for Issues
Check around the fan and duct connections for any signs of air leakage or noise issues. A well-installed fan should operate quietly and efficiently.
Maintenance of the Exhaust Fan
Regular Cleaning
To ensure the longevity and efficiency of your new fan:
- Monthly Dusting: Wipe the fan cover with a damp cloth to remove dust and dirt.
- Annual Cleaning: Disconnect and clean the fan blades and housing to prevent buildup.
Checking for Issues
Regularly monitor your fan for any signs of failure or inefficiency. Address issues as they arise to prolong the lifespan of your fan.

Common Mistakes to Avoid
While replacing your bathroom exhaust fan, paying attention to common pitfalls can save you time:
- Rushing the Wiring: Take your time when connecting the wires. Incorrect wiring can lead to shorts or even fires.
- Improper Size: Always ensure the new fan fits the existing ductwork. A mismatched size can cause airflow issues.
- Neglecting Local Codes: Familiarize yourself with local building codes regarding bathroom exhaust fans to ensure compliance.
Seek Professional Help
Expertise and Experience
One of the most significant benefits of hiring a professional is their expertise. Trained electricians and HVAC professionals possess the experience needed to identify potential issues and recommend the most effective solutions.
Complex Wiring
Replacing an exhaust fan often involves dealing with electrical wiring, and improper handling can lead to shorts, shocks, or even house fires. Professional electricians know how to safely manage electrical systems, ensuring that the installation meets all local codes.
Ventilation Requirements
Each bathroom has different ventilation needs based on size and humidity levels. Professionals understand how to calculate these requirements and can recommend the best exhaust fan for your specific space.
Compliance with Local Codes
Every locality has specific building codes concerning the installation of exhaust fans. A professional knows these codes thoroughly and can ensure that your installation complies with all regulations, helping you avoid potential fines or issues down the line.
Warranty Considerations
Many exhaust fan manufacturers offer warranties that may require professional installation for them to be valid. Failing to use a qualified technician could void your warranty, costing you more in the long run if issues arise.
 Choosing the Right Professional
Finding Qualified Electricians or HVAC Specialists
When seeking professional help, it’s crucial to find someone with the right credentials. Here are steps to guide you:
- Research: Start by searching online for local electricians or HVAC specialists who have experience with bathroom exhaust fans.
- Read Reviews: Check platforms like Yelp or Angie’s List for customer testimonials, ratings, and reviews.
- Ask for Recommendations: Friends, family, or neighbors may have had similar work done and can provide valuable recommendations.
Verifying Credentials
Before hiring a professional, ensure they have the necessary licensing and insurance:
- Licensing: Check that they have a valid contractor’s license. This indicates they meet state requirements for qualifications.
- Insurance: Make sure they are insured. This protects you in case of accidents or damages during the installation.
Getting Estimates
After narrowing down your options, it’s time to get estimates:
- Schedule Consultations: Most professionals will offer free consultations. Use this time to discuss your needs and get a feel for their expertise.
- Request Written Estimates: Always ask for a detailed breakdown of costs—this should include labor, materials, and any other fees.
- Compare Offers: Don’t just go with the cheapest option. Consider the quality of service, warranties, and reviews alongside the price.
Conclusion: how to replace a bathroom exhaust fan
Replacing a bathroom exhaust fan doesn’t have to be a complicated task. With the right planning, tools, and safety measures, you can enhance the comfort of your space while ensuring it remains free from excess moisture and odors. Remember to follow best practices throughout the process, and don’t hesitate to consult professional help if needed. Knowing how to replace a bathroom exhaust fan,is of great help to our life.