
Installing a washing machine can be a daunting task, especially if you’ve never done it before. Whether you’re replacing an old unit or setting up a new one, understanding the ins and outs of washing machine installation will help you achieve a seamless experience. This comprehensive guide will cover everything you need to know about washing machine installation, from the preparatory steps and tools required to the finer points of troubleshooting common issues.
Understanding Your Washing Machine
Before diving into the installation process, it’s essential to familiarize yourself with the type of washing machine you have. There are generally two types: top-loading and front-loading machines.
Types of Washing Machines
Front-Loading Washing Machines
Front-loading washing machines typically offer better energy efficiency and are gentler on clothes. They use less water and detergent, making them an environmentally friendly option. However, they usually require additional installation steps, including leveling the machine properly to prevent any vibration during use.
Top-Loading Washing Machines
Top-loading washers are generally easier to load and unload, making them a popular choice among families. They have a simpler installation process compared to front-loaders but might consume more water and energy.
Preparing for Installation
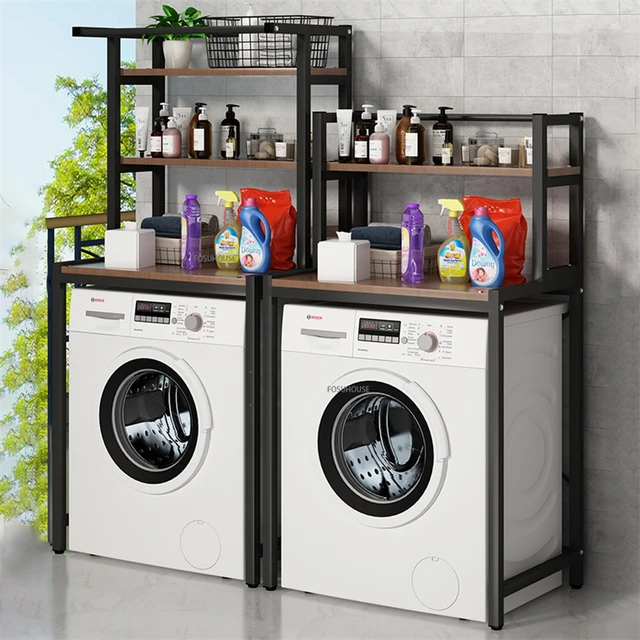
Choosing the Right Location
Before installing your washing machine, you need to select an appropriate location. Consider the following factors:
- Space: Ensure that you have enough room not just for the machine but also for door clearance, easy access to controls, and space for loading and unloading laundry.
- Flooring: Ensure the floor is level and can support the weight of a fully loaded machine. You may need to reinforce the floor if it’s susceptible to dampness.
- Ventilation: Good airflow is essential, particularly for front-loading machines, to prevent mold and mildew.
Gathering Necessary Tools
Before proceeding with installation, gather all the necessary tools and materials. You will typically need:
- Adjustable wrench
- Screwdriver
- Level
- Teflon tape
- Drain hose (if not included)
- Power cord (if not included)
Steps for Washing Machine Installation
Step 1: Remove Old Washing Machine (If Applicable)
If you’re replacing an old machine, the first step is to disconnect and remove it from its place. Follow these steps:
- Turn Off Water Supply: Shut off the valves for both the hot and cold water lines.
- Disconnect Hoses: Use the adjustable wrench to remove the water supply hoses from the back of the old washer. Have a towel ready to catch any remaining water.
- Disconnect the Drain Hose: Loosen any clamps holding the drain hose in place and pull it out.
- Move the Old Machine Out: Carefully slide the old washing machine away from its spot.
Step 2: Unbox the New Washing Machine
Carefully unbox your new washing machine. Make sure to check for any shipping damages before proceeding. Remove any packaging materials, like styrofoam, and tape securing the door.
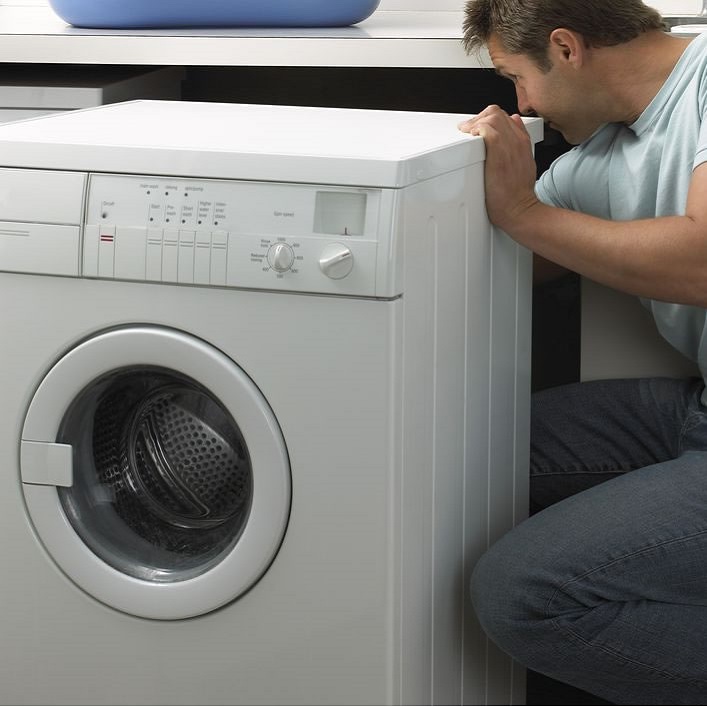
Step 3: Level the Machine
Proper leveling is crucial for the washing machine’s performance. An unlevel machine can cause it to vibrate excessively, leading to potential mechanical issues. Here’s how to level it:
- Adjust the Feet: Most washing machines have adjustable feet. Use a level to check the machine’s status and raise or lower the feet accordingly.
- Check After Installation: After installation, check the leveling again and make adjustments as needed.
Step 4: Connect Water Supply Hoses
Now that your washing machine is in place and level, it’s time to connect the water supply. Follow these steps:
- Attach Hoses to Washing Machine: Take the hot and cold water hoses and connect them to the corresponding ports on the back of the washing machine.
- Teflon Tape: Apply Teflon tape on the threads of the water supply fittings for a secure seal.
- Connect Hoses to Supply Valve: Attach the other ends of the hoses to the hot and cold water supply valves. Tighten them securely but avoid overtightening.
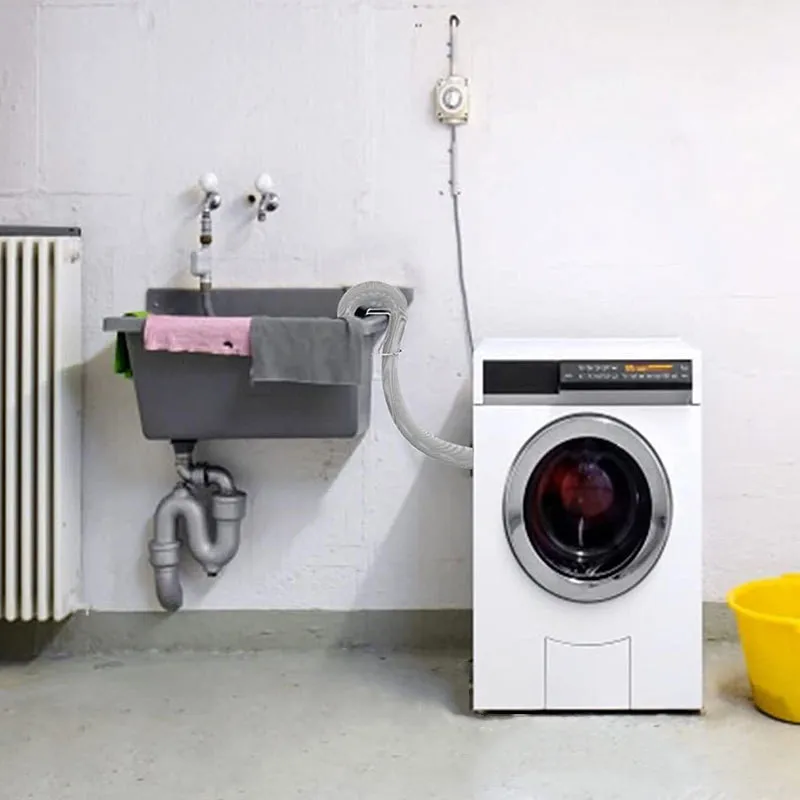
Step 5: Connect the Drain Hose
The drain hose is vital for removing water from the machine after each cycle.
- Locate Drain Port: Find the drain port usually located at the back of the machine.
- Insert and Secure: Insert the drain hose into the port and secure it using a clamp. Ensure the hose is positioned over the standpipe or sink to avoid overflow.
- Check for Slopes: Make sure the hose has a downward slope to facilitate proper drainage.
Step 6: Electrical Connections
Next, focus on the electrical connections. Ensure you take the necessary precautions to avoid electrical hazards.
- Plugging In: Most washing machines require a standard 120-volt outlet. Visit the manufacturer’s guide to ensure you have the appropriate power cord.
- Grounding: If the machine requires grounding, make sure it’s correctly grounded to avoid risks.
Step 7: Final Adjustments
With the core connections completed, take some time for final adjustments:
- Check All Connections: Make sure that all hoses and electrical points are securely connected and free of leaks.
- Level Once Again: After you’ve ensured everything is properly installed, double-check the leveling.
Testing Your Washing Machine
After the installation process, it’s time to test your washing machine and ensure everything works correctly.
Step 1: Run a Test Cycle
- Fill the Machine: Add a few towels or clothes to maintain balance during the cycle.
- Select Settings: Choose a regular wash cycle and adjust the temperature settings.
- Observe for Issues: Keep an eye on the machine during the test run. Check for any leaks or unusual noises.
Step 2: Inspect Drainage
After the test cycle is complete, observe how well the machine drains.
- No Leaks: Ensure there are no leaks from the hoses.
- Proper Drainage: Water should drain easily without any backing up into the drum.
Troubleshooting Common Issues
Despite careful installation, issues can still arise. Here are some common problems and their solutions:
No Power
- Check the Outlet: Use a different appliance to ensure that the outlet is functional.
- Check Power Cord: Inspect for any frays or damage to the power cord.
Water Leakage
- Check Hose Connections: Ensure that the water supply and drain hoses are tightly connected.
- Inspect for Kinks: Make sure that the hooses are not kinked or pinched.
Unusual Noises
- Level Issues: An unlevel machine can cause excessive vibrations and noise.
- Foreign Objects: Check the drum for any foreign objects that may cause noise.
 Maintenance Tips
To ensure your washing machine remains in optimal condition, follow these maintenance tips:
Regular Cleaning
- Clean the rubber gaskets and drum regularly to prevent mold and mildew buildup.
Check Hoses Periodically
- Inspect the hoses for signs of wear and tear and replace them as necessary.
Use Quality Detergents
- Use the right type of detergent for your washing machine to ensure a longer lifespan and effective cleaning.
Safety Measures
Proper Ventilation
Ensure that the area where the washing machine is installed has adequate ventilation. This is crucial to prevent mold and mildew growth in damp areas.
Regular Maintenance
Perform routine checks for the following:
- Hoses: Inspect hoses for signs of wear and tear and replace them every few years to prevent leaks.
- Electrical Connections: Periodically check that plugs and outlets are in good condition, ensuring that there is no fraying or damage.
Conclusion
Washing machine installation may seem intimidating at first, but with the right preparation and knowledge, it becomes an achievable task. Whether you’re setting up a new unit or replacing an old one, following these guidelines will ensure a smooth installation process. By properly installing and maintaining your appliance, you’ll enjoy hassle-free laundry days for years to come. Embracing the washing machine installation process gives you a sense of accomplishment, knowing that you can handle essential home tasks with confidence.