
Installing washing machine can seem daunting, but with the right approach and preparation, you can achieve a seamless setup. This guide will walk you through the essential steps, provide useful tips, and ensure that your washing machine installation is efficient and straightforward. Whether you’re replacing an old machine or installing a new one, you’ll find valuable insights here.
Understanding the Basics of Washing Machine Installation
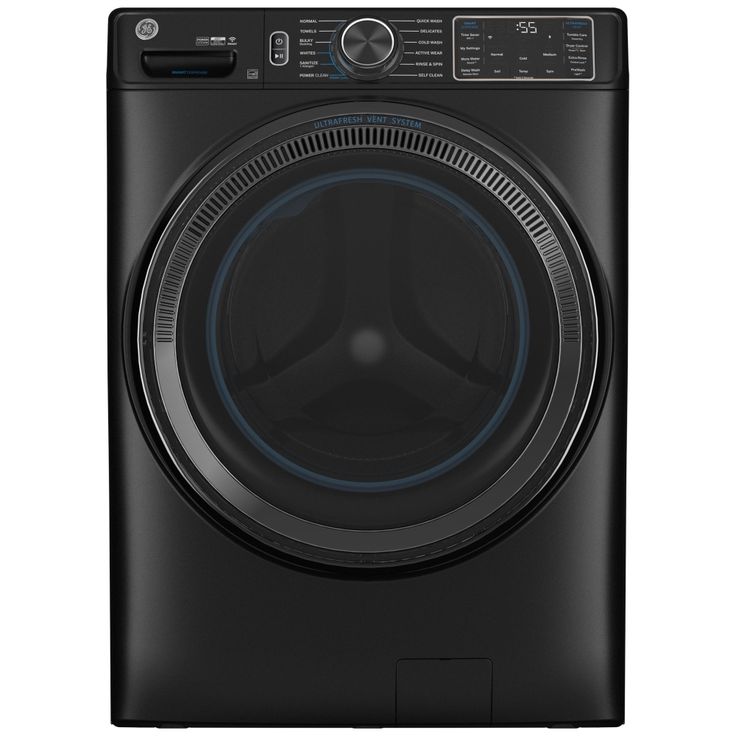
Before diving into the installation process, it’s essential to understand the basics of your washing machine’s design and functionality. Most washing machines come with two main components: the washer itself and the drain hose. Both components require connections to your home’s water supply system and electrical outlet.
Washing machines typically connect to both hot and cold water lines. Ensure you identify these lines correctly before installing washing machine. In most instances, the hot water line is red, while the cold water line is blue. It is vital to have the correct water supply set up because running your washing machine with an improper connection may lead to malfunction or, worse, damage to the appliance itself.
Moreover, understanding the type of machine you have—whether it’s a front-loading or top-loading washer—can influence your installation strategy. For instance, front-loading machines require more clearance in terms of door swing, and it’s essential to consider how you plan to load and unload laundry once the machine is in place. Furthermore, front-loaders may need slight adjustments to keep them level, which can affect their performance if overlooked.
Gathering the Necessary Tools and Materials
Before initiating the installation process, gather all the necessary tools and materials. This foresight can prevent frustration and interruptions while you work. Common tools required for the task include a pair of pliers, a level, a screwdriver, and adjustable wrenches. Having these tools on hand will facilitate the installation significantly.
Additionally, prepare the supply line hoses and drain hose. Most washing machines come with these components in the box, but if you’re unsure, verify what your model needs. Quality hoses made of durable materials can prevent leaks and other issues during usage. It’s also advisable to invest in some plumber’s tape. This can seal threaded joints and connections, reducing the risk of leaks.
Make sure you have a clean installation area as well. Ideally, choose a space that is free of clutter and provides adequate room around the machine for ventilation and ease of access. Tidiness not only eases the setup but also makes future maintenance tasks much simpler. Take time to clear out any old appliances, laundry baskets, or cleaning products that might clutter the space.
Preparing Your Space for Installation
Before placing your washing machine, prepare the space to ensure optimal functionality once the installation is complete. Check the flooring; washing machines can move slightly during cycles, and a solid, level floor is essential to reduce vibrations and noise. If you’re installing the washing machine on an unsteady surface or carpet, consider using a plywood board as a foundation.
After evaluating the floor, ensure that your designated space has adequate electrical outlets nearby. Most washing machines require a standard 120V connection; avoid using an extension cord due to safety risks associated with overloading and potential electrical hazards. Always consult your machine’s user manual to ensure compliance with electrical safety regulations.
Additionally, identify the location of the water pipes and drain. The washing machine should sit near these utilities for easy hook-up. Ensure both the hot and cold water valves are easily accessible. When positioning the machine, consider a future serviceability vantage: leave enough space behind the machine for maintenance and repairs.
Connecting the Water Supply: Step-by-Step Instructions
Once you have prepared the installation area and gathered your materials, it’s time to connect the water supply. Start by locating the hot and cold water valves. Typically, the hot water valve is on the left and the cold on the right.
Begin by attaching the cold water hose to the cold valve. Hand-tighten until it’s snug. Use pliers to give it a slight twist, but be careful not to overtighten, as this might damage the fitting. Repeat the process for the hot water hose, ensuring that it securely connects to the hot water supply.
Next, attach the other end of each hose to the corresponding inlet ports on the washing machine. This step is crucial because improper connections can lead to leaks or inadequate washing. Check your washing machine’s manual for specific instructions regarding connections. Most machines will have visual indicators to help you identify where each hose should go.
Once the connections are made, double-check everything for potential leaks by turning on the water valves slowly. Watch carefully as the water fills the machine. If you notice any drips or leaks, promptly turn off the water and recheck your hose fittings.
Setting Up the Drain Hose: Essential Considerations
The drain hose setup is as critical as the water supply because improper drainage can cause water overflow and potential flooding. Begin by positioning the drain hose into the drain standpipe or laundry tub. Most washing machines come with a drain hose that is three to four feet long. If your setup requires a longer hose, make sure you purchase a compatible extension.
Ensure the drain hose has a secure fit to prevent it from dislodging during the washing cycles. The hose should be placed in a vertical position, avoiding any kinks or bends that may restrict water flow. Check your local plumbing codes to ensure compliance when connecting the drain line. In some cases, it might be necessary to install a standpipe, thereby allowing proper drainage and minimizing the chance of clogs.
If you are using a laundry tub, the top edge of the drain hose should not exceed 30-40 inches high for optimal drainage. Incorrect height can lead to siphoning, where water gets pulled out of your washer too early in the cycle.
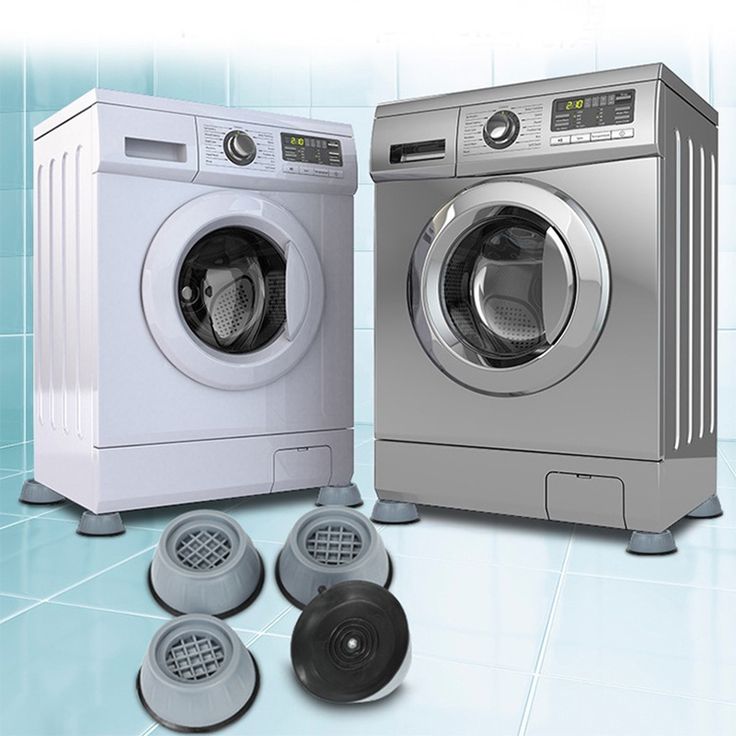
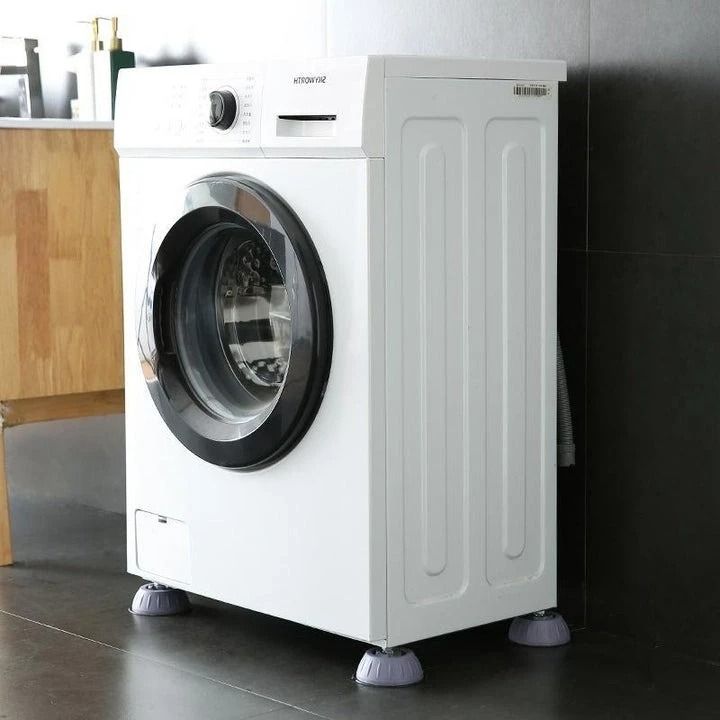
Leveling Your Washing Machine for Optimal Performance
After connecting the hoses, it’s time to focus on leveling your washing machine. Proper leveling is essential for effective performance and to reduce noise and vibrations while operating. Use a level tool—this can be a laser level or a traditional bubble level.
Check both the front and side-to-side alignment. Adjust the leveling feet of the machine accordingly. Most washers have adjustable feet that can extend or retract to accommodate uneven flooring. If your washing machine has a large gap at one foot, consider placing shims underneath it for a more stable base.
Once adjusted, step back and give the washer a gentle push to ensure it doesn’t rock. A stable machine not only enhances performance but also minimizes wear and tear in the long run. Regularly check the level of your machine, especially if you’ve recently moved it. Over time, slight shifts can occur, and addressing leveling issues proactively helps preserve your washer’s integrity.
Ensuring a Safe Electrical Connection
With the water connections established and the machine leveled, it’s time to make the electrical connection. Confirm that your washing machine’s power cord is in good condition, free from frays or damage. The cord should only connect to a grounded three-prong outlet. If possible, test the outlet to ensure it delivers the correct voltage.
Avoid using extension cords or power strips as they can pose safety hazards, potentially causing overloaded circuits. If the outlet is not conveniently located behind your machine, consider hiring a licensed electrician to install a new outlet close to your washing machine.
After plugging in, check to see if the washer’s control panel lights turn on. This indicates that the power connection is successful. Take a moment to familiarize yourself with the washer’s settings and controls before proceeding with your first load of laundry.
Performing a Test Run: Ensuring Everything Is Working
Once installed and all connections are made, it’s time for a test run. Select a short cycle to start, ideally one with low water levels. This approach will help you verify that the water supply is functioning correctly and that there are no leaks.
Carefully observe the machine as it runs the cycle, paying close attention to the areas where hoses connect to the machine and the wall. Listen for any unusual sounds that might indicate misalignment or potential issues. Most washing machines also have diagnostic modes built into their control systems; consult your user manual to run specific tests if needed.
Check the drain hose and drain location to ensure that water is flowing freely. Pay close attention to any drainage issues, as they can indicate problems that need immediate attention. If everything looks good, you can proceed to a full load after the initial testing phase.
Conclusion: Mastering Your Washing Machine Setup
Installing washing machine doesn’t have to be a complicated task. By understanding the necessary steps, gathering the right tools, and paying attention to detail, you can set up your washing machine hassle-free. Remember to prepare your space adequately, make precise connections, level the machine properly, ensure safe electrical practices, and conduct a thorough test run.
Following these guidelines not only facilitates a smoother process but also prolongs the life of your appliance. A well-installed washing machine operates efficiently, providing the reliability you need for your laundry needs. Enjoy the convenience of your new washing machine and appreciate how it simplifies your laundry routine!