
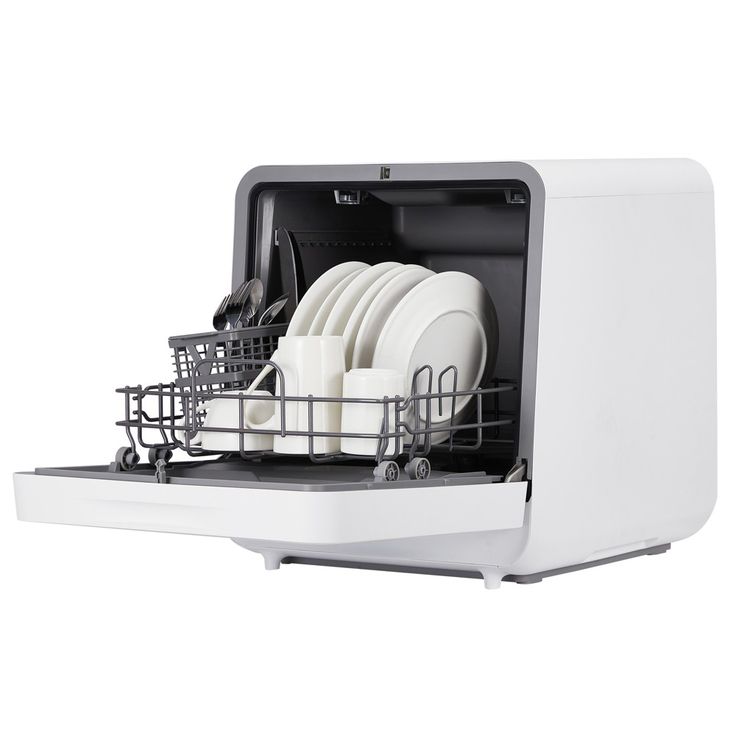
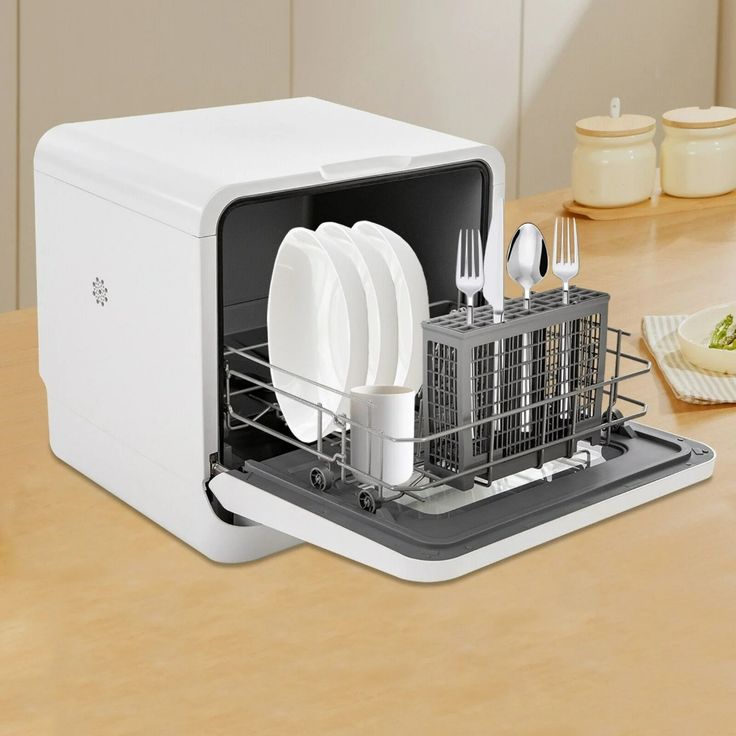
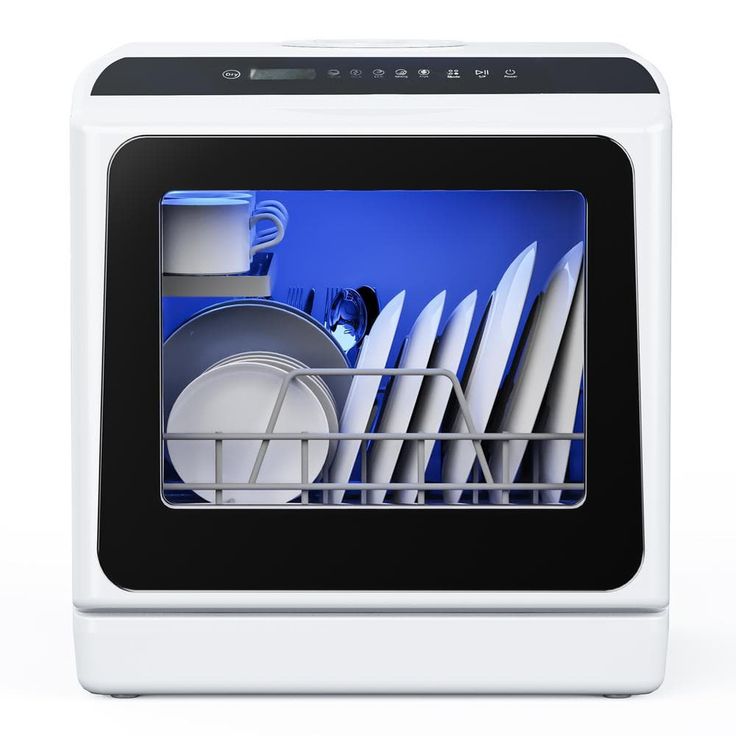
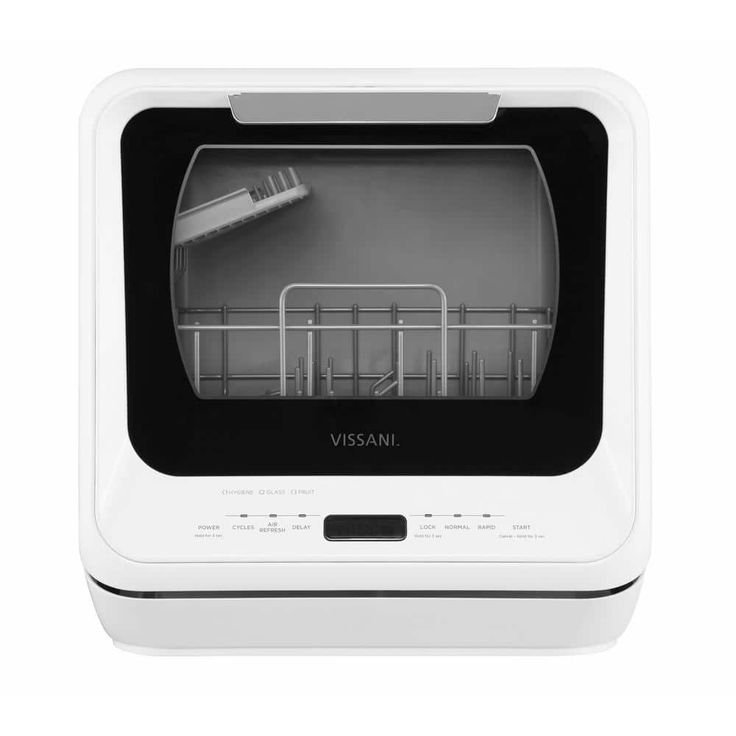
In today’s fast-paced world, convenience plays a pivotal role in our daily lives. One appliance that has become a necessity in modern kitchens is the mini dishwasher. Whether you live in a small apartment, a studio, or just want to optimize space in a larger home, these compact marvels deliver sparkling clean dishes without occupying precious real estate. However, many homeowners hesitate at the thought of installation, fearing an arduous and complicated process. No need to worry! In this article, we will explore essential tips for a seamless mini dishwasher setup, ensuring that you enjoy the benefits of this handy appliance without the installation headache.
Understanding Your Mini Dishwasher: Before You Start
Before jumping into the setup process, take time to familiarize yourself with your mini dishwasher model. Each brand may have distinct features, plumbing requirements, or electrical specifications, which can vary widely. Read through the user manual and take special note of the installation guidelines tailored to your specific model.
Another crucial step is to measure the area where you plan to place your mini dishwasher. Precision is key. You want to ensure it fits snugly in the designated space, particularly under your kitchen counter or beside your sink. Make sure you account not just for the width and height but also for ample ventilation and ease of access for loading and unloading dishes. Consider the surrounding space to prevent any potential heat build-up while the machine operates. If space permits, having at least a few inches of clearance around the appliance significantly enhances overall cooling and performance.
While examining the installation, take account of other elements that may impact your setup, such as neighboring cabinets, additional appliances, or plumbing configurations. This pre-installation assessment builds the groundwork for a hassle-free installation process.
Gather Your Tools and Materials: Be Prepared
A successful mini dishwasher setup starts with gathering the right tools and materials. Here are the essential items you will need:
- Basic Hand Tools: A screwdriver (flat and Phillips-head), adjustable wrench, pliers, and a tape measure.
- Plumbing Fittings: Depending on your outgoing water supply and drainage setup, ensure you have the right connections. You may require a hose clamp, a T-fitting, or a sink adapter.
- Electrical Supplies: Make sure you have a power cord if your model does not come with one. Check the specifications for the appropriate voltage and understanding whether the dishwasher requires a dedicated circuit.
- Leveling Device: A level is vital to ensure that your mini dishwasher sits perfectly to avoid unwanted leaks or operational issues.
- Rags and Towels: Expect some spillage during setup. Having a few towels handy can minimize mess and help with cleanup.
By preparing these tools and materials in advance, you prevent interruptions and keep the installation process smooth and efficient.
Location, Location, Location: Choosing the Ideal Spot
The location of your mini dishwasher plays a significant role in functionality and ease of use. Position it strategically within proximity to both your sink and power source. Opting for a location close to these utilities streamlines water supply and draining processes.
Moreover, consider access points. For ease of loading and unloading, choose an area that facilitates workflow. If you have limited space, placing the dishwasher near the counter makes it simple to transfer dirty dishes from the sink to the dishwasher.
Beyond practicality, ensure that the location does not block kitchen foot traffic or come into conflict with other essentials. Avoid corners or areas with tight clearance, as these can become inconvenient or even unsafe. Evaluating your kitchen layout with a critical eye allows you to optimize both form and function as you set up your appliances.
Connect the Water Supply: A Step-by-Step Guide
Connecting your mini dishwasher to the water supply can appear daunting, but with the right approach, you’ll complete this task in no time. Follow these detailed steps to make the connection process seamless:
- Turn Off the Water Supply: Locate the shut-off valve and turn off the water supply before starting work to avoid any potential flooding or water damage.
- Position the Dishwasher: Gently slide the mini dishwasher into its dedicated location. Ensure you leave enough room to access both the rear and underneath for plumbing connections and electrical wiring.
- Connect the Inlet Hose: Locate the water inlet valve on the dishwasher. Attach the inlet hose from the dishwasher to this valve. Use a wrench to tighten the connection, but avoid over-tightening, as this can damage the fittings.
- Integrate the T-Connector: If you are connecting directly to the faucet, install a T-connector. This fitting allows for simultaneous use of the faucet and the mini dishwasher.
- Reconnect the Water Supply: Once the hose is securely in place, turn the water supply back on and test for leaks. If you see any drips, re-tighten the connections as necessary to ensure a proper seal.
- Check for Kinks or Restrictions: As you complete the plumbing procedures, inspect the hose for any kinks or bends that could impede water flow. Straighten any issues and clear any bend points for optimal performance.
By following these steps carefully, you set a solid foundation for your dishwasher’s operation, ensuring a reliable water supply for consistently clean dishes.
Proper Drainage System Setup: Ensuring Smooth Operation
The drainage system is just as crucial as the water supply when it comes to dishwasher installation. A malfunctioning drainage system can lead to backflow issues and eventual appliance failure. Here are steps to correctly set up your drainage:
- Locate the Drain Hose: Identify the drain hose situated at the back of your mini dishwasher. It’s essential to keep this hose elevated above the sink or outlet drain for optimal drainage.
- Connect to the Sink Drain: For many models, you can connect the drain hose directly to the sink’s drainage system using a hose clamp to create a tight seal, assuring no leaks.
- Ensure an Adequate Height: Position the drain hose high enough to prevent backflow from the sink. If your sink allows it, install the drain hose over the edge of the sink or install an air gap fitting to create separation.
- Fill in Any Gaps: Make sure your drainage connection does not leave any gaps open, which could allow debris to enter the drain, leading to clogs and performance issues down the line.
- Test for Dips and Sags: Ensure that your drain hose maintains a consistent upward slope to encourage proper drainage. Avoid dips and lower parts in the hose that could trap water.
After completing these steps, turn on the mini dishwasher to check it thoroughly for any leaks during washing cycles and ensure water drains efficiently.
Wiring Your Small Dishwasher Safely: A Practical Approach
Electrical safety remains a crucial consideration during your mini dishwasher installation. If you’re comfortable with electrical work, follow these steps to complete your wiring safely. If not, consider hiring a certified electrician.
- Turn Off Power at the Breaker Box: Always start by shutting off power to the area where you’ll be working. This precaution keeps you safe from short circuits or electric shocks.
- Identify Electrical Requires and Prepare Connection: Verify the power requirements of your mini dishwasher. Most require a standard 120-volt outlet, but some may specify higher requirements. If needed, consult an electrician to install a dedicated circuit for the appliance.
- Connect the Power Cord: If your mini dishwasher does not come with a power cord, connect appropriately based on color codes (typically black to black, white to white, green or bare to ground). Use wire nuts for each connection to ensure a secure fit.
- Testing: Ensure connections are tight and secure, then plug the power cord into the outlet. Turn the power back on at the breaker box and check that the mini dishwasher powers up correctly.
- Safety Checks Down the Line: Regularly inspect your wiring connections for any wear and tear over time, and ensure the circuit functions correctly. Notice any unusual sounds or behavior as these can indicate electrical issues.
Getting the electrical components right from the outset prevents potential hazards and costly repairs in the future.
Leveling Your Dishwasher: The Final Touch
After you successfully connect both water supply and drainage, it is crucial to level your mini dishwasher for optimal efficiency. A properly leveled appliance helps prevent leaks and operational issues, ensuring the unit functions smoothly for years to come.
- Use a Leveling Tool: Place a level on top of the dishwasher to check where you need adjustments.
- Adjust the Feet: Most mini dishwashers come equipped with adjustable feet. Loosen these feet and rotate them as necessary to achieve the desired height and level.
- Double Check Level: After adjusting, recheck both the front and sides with the level tool. Adjust as necessary until the dishwasher is completely level.
- Secure Connections and Clean Up: Lastly, ensure all water supply and drainage connections are firmly secured. Clean up any excess water or spills that may have occurred during the installation process.
By ensuring the mini dishwasher is firmly positioned, you set the stage for reliable performance and longevity.
Finalizing the Installation: Testing and Troubleshooting
With all the connections established, it’s time for the moment of truth: testing your mini dishwasher. Follow these steps to ensure operational success:
- Run a Test Cycle: Load the dishwasher with a few items and run a test cycle. Observe for leaks, unusual noises, or drainage issues during and after the cycle.
- Check Water Supply: Ensure water flows freely into the appliance during operation. If you see any delays or impairments, double-check the inlet hose connection.
- Check Drainage: Monitor how efficiently the water drains at the end of the cycle. A smooth drainage process is crucial to the longevity of the appliance.
- Monitor for Unusual Sounds: Pay attention to any atypical sounds like grinding or rattling, which can indicate improper installation or loose components.
- Consult the Manual: If complications arise, refer back to your user manual, which provides troubleshooting guidelines tailored to your specific model.
Once you have confirmed everything is operating smoothly, take a moment to clean up your workspace and enjoy the convenience that your new mini dishwasher provides!
Conclusion: Enjoy the Benefits of Your Small Dishwasher
Installing a mini dishwasher can seem like a formidable task, but with the right preparation and guidance, anyone can take on the challenge successfully. By following these steps, you can enhance your living space and create a more functional kitchen tailored to your needs.
Ultimately, the effort you put into a straightforward installation pays off in the form of efficiency, convenience, and a sparkling clean array of dishes. Now that you have set up your mini dishwasher, you can well appreciate how it enhances your lifestyle and simplifies your chores. Enjoy the freedom and efficiency that this sleek appliance brings to your kitchen!