

Dryers are a cornerstone of modern laundry practices. They save time and provide convenience, but they are not without their challenges. One of the most critical aspects of dryer maintenance is ensuring that the dryer duct cleaning. Clogged or dirty ducts can lead to a range of issues, including reduced efficiency, increased energy bills, and even fire hazards. This article discusses essential tips for cleaning and maintaining your dryer ducts, ensuring that your appliance continues to perform optimally while keeping your home safe.
Understanding the Importance of Dryer Duct Cleaning
Why Clean Dryer Ducts?
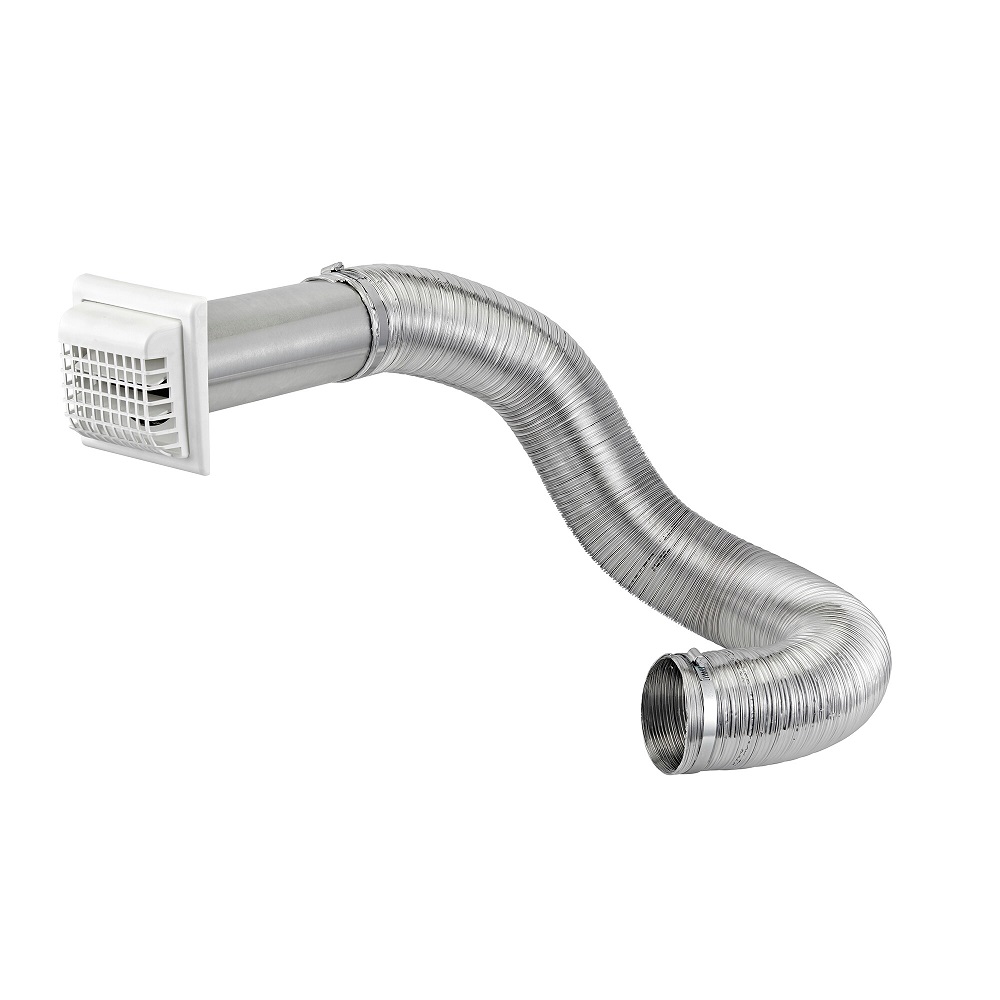
The main purpose of dryer ducts is to vent hot air and moisture from the dryer to the outside of your home. Over time, lint and debris can accumulate in the ducts. This buildup can restrict airflow, making it difficult for the dryer to function efficiently. When airflow is compromised, the dryer must work harder to dry clothes, which can lead to increased energy consumption.
Additionally, a clogged dryer duct poses a significant fire risk. According to the National Fire Protection Association (NFPA), dryers and washing machines account for thousands of home fires each year. Most of these fires are caused by lint buildup in the dryer vents. Keeping your ducts clean is essential not only for the longevity of your appliance but also for the safety of your home and family.
Signs That Duct Cleaning is Necessary
Several warning signs indicate that it may be time to clean your dryer ducts. The most obvious sign is the excessive drying time. If your clothes are taking longer than usual to dry, it may mean that airflow is restricted. You may also notice that your dryer feels unusually hot to the touch after a cycle. A burning smell coming from the dryer is another sign that lint or debris has accumulated in the vent.
Other indicators include the presence of lint in or around the dryer and a musty odor in the laundry area. If you notice any of these symptoms, do not ignore them. Taking action promptly can help prevent more severe issues down the line.

Preparing for Dryer Duct Cleaning
Gather Necessary Tools and Equipment
Before you begin cleaning your dryer ducts, it is essential to gather the necessary tools and equipment. A dryer vent cleaning kit typically includes a long brush, flexible rods, and a vacuum attachment. These tools will allow you to reach deep into the ductwork and remove built-up lint effectively.
Additionally, having a powerful vacuum on hand is beneficial. A shop vacuum is ideal for this task, as it has the suction power needed to eliminate stubborn lint and debris. Protective gear such as gloves and goggles is also advisable to keep you safe during the cleaning process.
Ensure Safety First
Safety should always be your top priority. Before you start, unplug the dryer from the electrical outlet to avoid any electrical hazards. If you have a gas dryer, turn off the gas supply. This precaution protects you from potential accidents while you work on the appliance. It’s also wise to wear a dust mask to prevent inhaling any lint particles during the cleaning process.
Finally, ensure that your work area is well-ventilated. Open windows or turn on fans to provide airflow and minimize dust accumulation in the laundry area. Following these safety measures will help you proceed with confidence.

Step-by-Step Guide to Cleaning Your Dryer Ducts
Disconnect the Dryer
The first step in cleaning your dryer ducts is to disconnect the appliance from the power source. Move the dryer away from the wall to access the duct. Depending on your model, you may need to remove screws or clamps to detach the duct from the back of the dryer. This is an essential step to ensure that you can clean the entire length of the duct without obstruction.
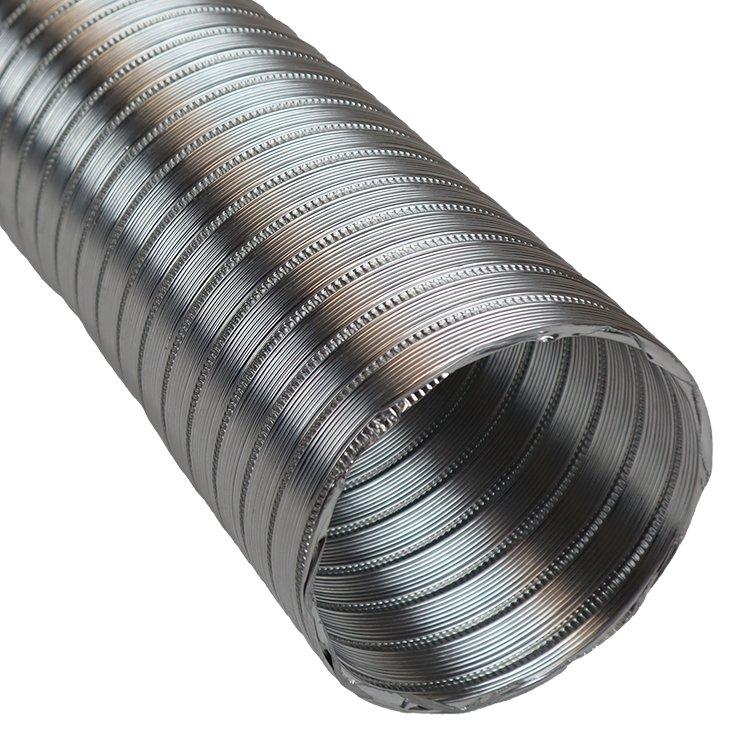
Once disconnected, inspect the duct for visible lint buildup. Most dryer ducts consist of flexible aluminum or rigid metal. If you notice any significant blockages, you can begin by removing these manually. Cleaning as much lint as possible before using tools will save you time and effort.
Clean the Duct with Proper Tools
Once you have disconnected the dryer and removed any visible debris, it is time to use your cleaning equipment. Start by inserting the brush from your dryer vent cleaning kit into the duct. Use long, sweeping motions to dislodge any remaining lint. Slowly push the brush deeper into the duct, using the flexible rods to extend your reach.
As you clean, be sure to pull out accumulated lint regularly. Use your vacuum attachment to suck up any loose debris that the brush dislodges. This vacuum method effectively clears out lint and minimizes the chances of it traveling further down the duct, creating blockages.
Clean the Dryer Vent Cap
After cleaning the duct, it is essential not to overlook the exterior vent cap. The vent cap is located on the outside of your home and allows hot air and moisture to escape. Over time, lint can accumulate in this area, causing airflow issues. Therefore, the vent cap should be removed and cleaned thoroughly.
Use a brush or cloth to wipe away any accumulated lint and debris. Ensure that the flap operates freely and does not get stuck. If you notice any damage to the vent cap, consider replacing it. A fully functional vent cap is crucial for maintaining good airflow and preventing pest entry into your home.
Post-Cleaning Steps
Reconnect and Test the Dryer
Once you have completed the cleaning process, it is time to reconnect your dryer. Carefully attach the duct back to the appliance, ensuring that any clamps or screws are securely fastened. After reconnecting the dryer, plug it back into the electrical outlet or turn the gas supply back on if you own a gas dryer.
Before returning the dryer to its original position, it is wise to run a test cycle. Set the dryer to operate for about 10–15 minutes while monitoring for any unusual sounds or smells. Check the airflow coming from the exterior vent to ensure it is strong and unobstructed. This test will confirm that you have successfully cleared any blockages and restored normal function.
Schedule Regular Maintenance
Cleaning your dryer ducts should not be a one-time task but part of a regular maintenance routine. Experts recommend cleaning dryer ducts at least once a year. If you do a lot of laundry or have a large household, consider increasing the frequency to every six months. Regular cleanings will help maintain efficiency and prevent dangerous lint buildup.
In addition to cleaning the ducts, inspect the dryer and its components for any signs of wear or damage. Look for issues like frayed electrical cords, worn belts, or damaged lids. Addressing these problems early can save you time and money down the road.

Benefits of Dryer Duct Cleaning
Improved Efficiency and Performance
One of the most significant benefits of routine dryer duct cleaning is the improved efficiency of your appliance. When ducts are free of lint and debris, the dryer can operate more effectively, leading to shorter drying times. This efficient performance saves energy, which can result in lower utility bills.
By maintaining clean ducts, you enhance the longevity of your dryer as well. A well-maintained appliance will typically last longer and require fewer repairs. Investing in regular cleaning ultimately pays off in performance, savings, and appliance lifespan.
Reduced Fire Hazards
Another critical benefit is the substantial reduction in fire hazards. As mentioned earlier, lint buildup can pose a serious risk of fire. Cleaning your dryer ducts minimizes this risk by ensuring that hot air can escape safely from your home.
By taking preventative measures, you protect your home and family from potential dangers. Regularly scheduled cleanings serve as a proactive way to maintain a safer living environment. Ultimately, this practice promotes peace of mind alongside appliance efficiency.
Conclusion
Prioritize Your Dryer Maintenance
In summary, maintaining dryer duct cleaning is essential to ensuring your appliance operates effectively and safely. Understanding the importance of cleaning, recognizing the warning signs, and following proper cleaning procedures will contribute to better overall performance.
Investing time in keeping your dryer ducts clean helps improve energy efficiency, reduce fire hazards, and prolong the life of your appliance. By following the essential tips provided in this article, you can enjoy the benefits of a well-maintained dryer while ensuring the safety of your home.
Stay Vigilant for Future Repairs
Ultimately, the key to effective dryer operation lies in proactive maintenance practices. As you continue to use your dryer, remain vigilant for any signs of performance issues. Regular inspections and cleanings will help prevent problems before they escalate. Embrace the responsibility of caring for your laundry appliances to ensure they serve you well for years to come.
By prioritizing dryer duct cleaning and maintenance, you not only keep your dryer running efficiently but also contribute to a safer, more energy-efficient home.