
Introduction: Understanding Dryer Vents
The Importance of Dryer Vents
Dryer vents play a critical role in the functionality and safety of your clothes dryer. They are responsible for expelling hot, moist air from the dryer to the outside of your home, allowing your clothes to dry efficiently. Proper installation and ongoing maintenance of dryer vents are vital for preventing potential hazards, such as house fires fueled by lint buildup or decreased dryer performance due to restricted airflow. Understanding how to properly install and clean dryer vents can save you time, money, and provide peace of mind.
Common Issues with Poorly Installed or Clogged Dryer Vents
When dryer vents are improperly installed or not regularly cleaned, they can lead to a host of issues. These include prolonged drying times, increased energy bills, and potentially dangerous conditions that could result in lint fires. Additionally, moisture buildup inside the dryer and vent can lead to mold and mildew, posing health risks to you and your family. By ensuring your dryer vents are correctly installed and routinely cleaned, you can mitigate these risks and enhance the efficiency of your appliance.
Dryer Vent Installation
1. Selecting the Right Materials
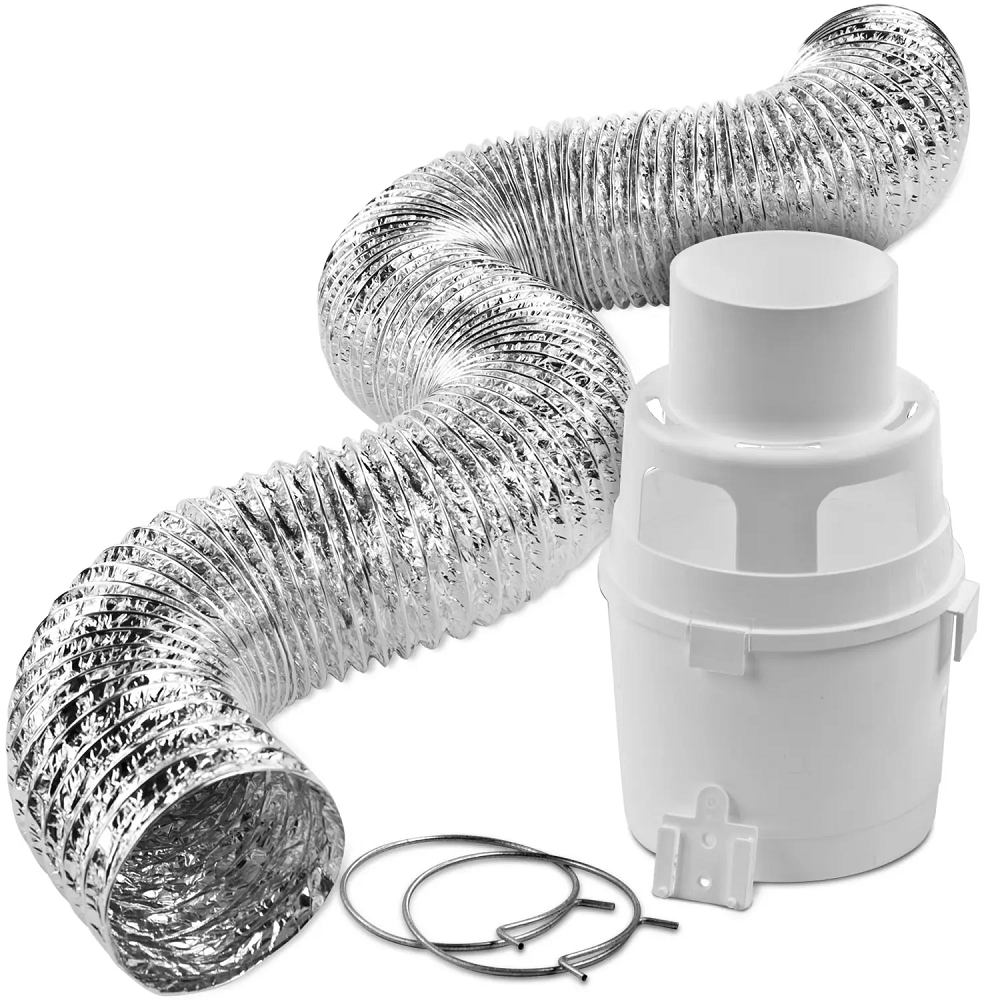
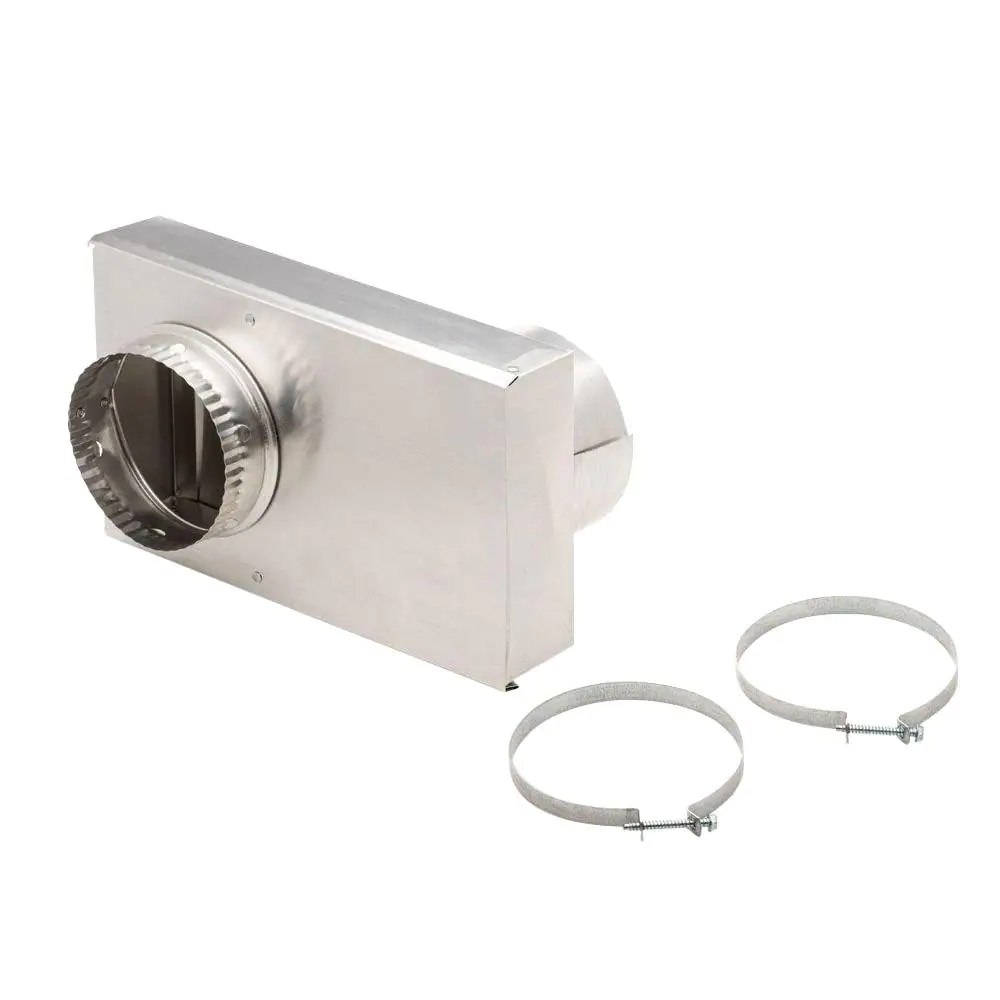
Types of Dryer Vent Ducts
Proper installation begins with selecting the right materials for your dryer vent. There are various duct types available, and choosing the right one is crucial.
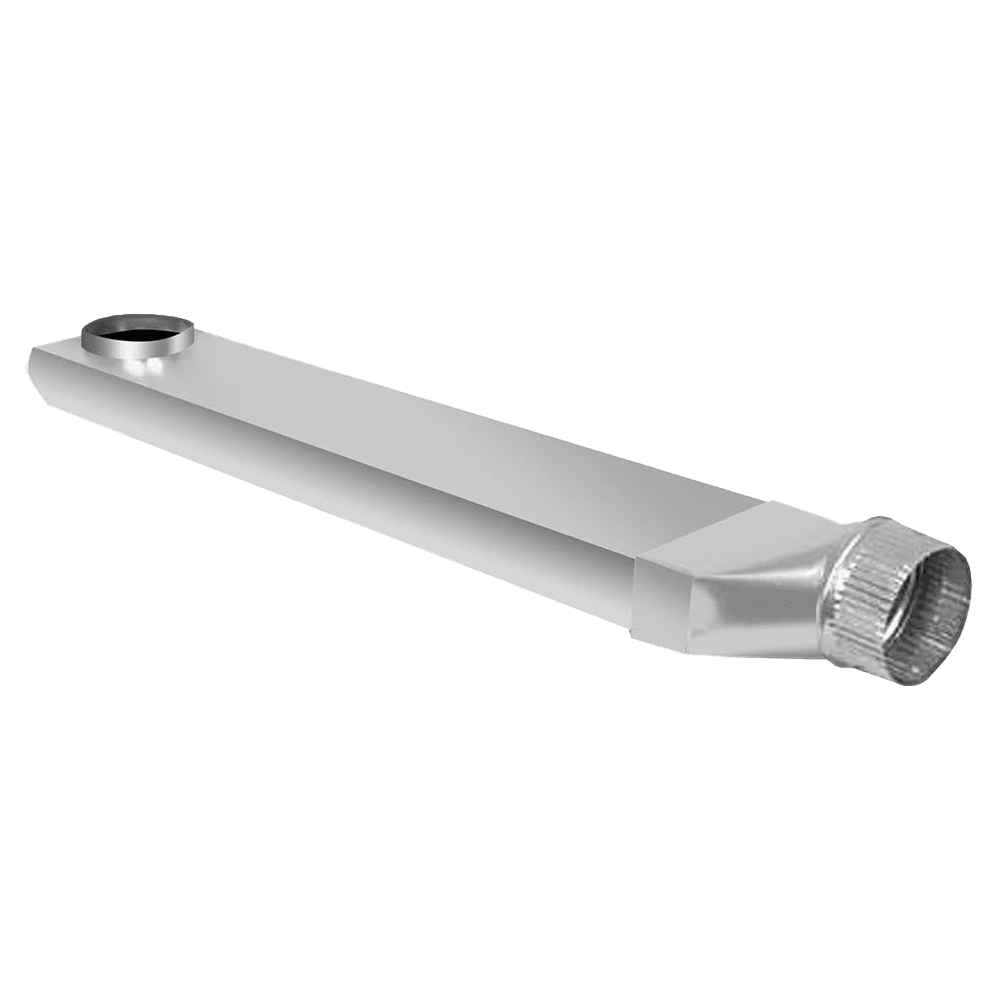
- Rigid Metal Ducts: Often recommended by most manufacturers due to their durability and superior airflow capabilities. Rigid metal ducts are less prone to bending and collapsing, minimizing the risk of lint buildup.
- Flexible Ducts: While easier to install, flexible ducts can accumulate lint more rapidly and may sag, leading to blockages. If used, they should only be a short distance for better airflow.
- Foil Ducts: Another option that is lightweight and accessible. However, like flexible ducts, they can also be prone to kinks leading to decreased airflow efficiency.
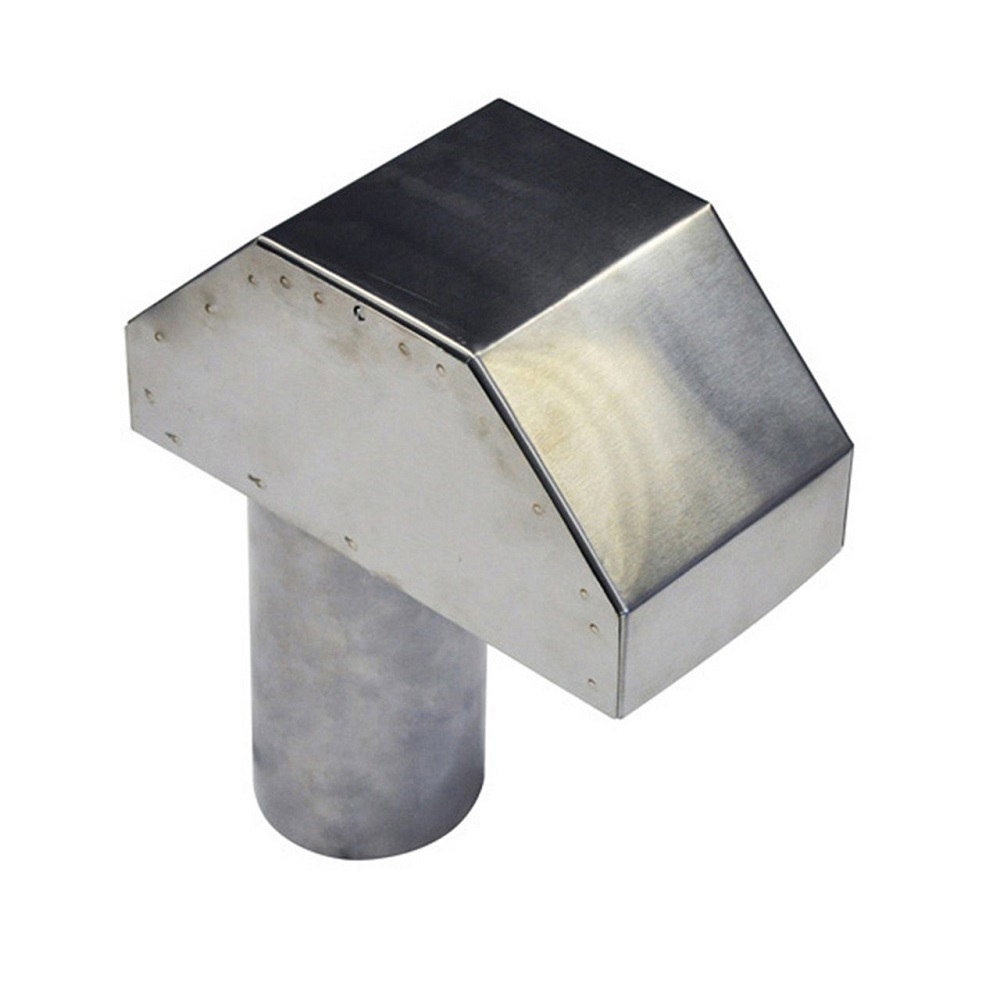
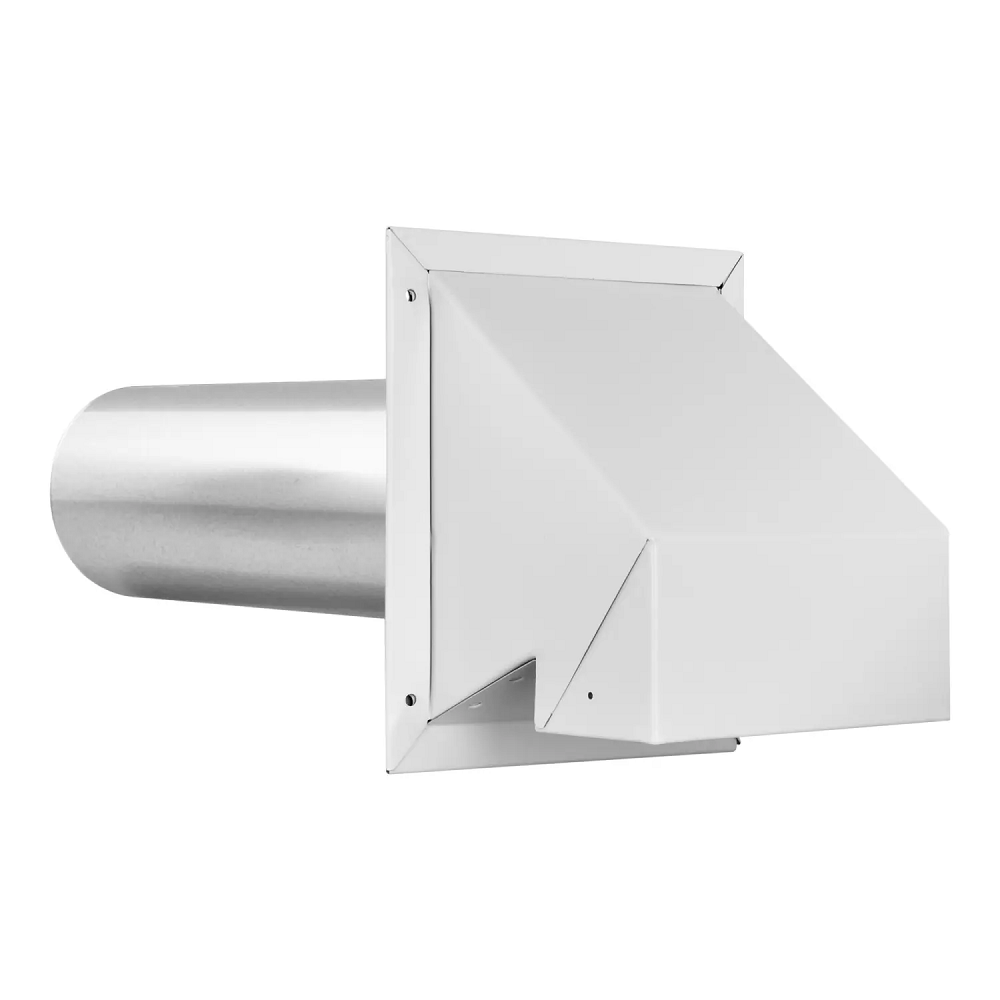
Vent Cap
When purchasing materials, do not forget a vent cap with a backdraft damper that prevents outside air from entering the duct when the dryer is not in use or during windy conditions.
2. Measuring and Planning the Route
Ensuring Correct Length and Angles
Before installation, measuring the intended route for the duct is essential to ensure proper airflow is not compromised.
- Shortest Path: Plan for the shortest and most direct route from the dryer to the outside vent. Longer runs increase the risk of clogs and inefficiencies.
- Avoiding Bends: Minimize elbow bends in the duct; maximum bends should not exceed two for optimal performance. Each bend can restrict airflow and create potential blockages.
3. Preparing the Installation Area
Safety First
Before beginning the installation, ensure you have all tools and materials ready.
- Tools Required: Gather tools such as a drill, screwdrivers, a utility knife, a measuring tape, and a level. Having everything handy will make the installation process smoother.
- Safety Precautions: Make sure the dryer is unplugged, and always wear appropriate safety gear, including gloves and safety goggles.
4. Cutting a Hole for the Vent
Creating the Exit Point
Identify where the duct will exit the house, usually through an exterior wall.
- Marking the Spot: Use your measuring tape to determine the appropriate height and width of the hole. Mark your cut lines on both the interior and exterior walls.
- Using a Hole Saw: A hole saw attached to a drill is typically used to cut through walls. Drill carefully to create a clean hole for the duct to pass through.
5. Installing the Duct
Secure Connection
Once the hole is established, it’s time to attach the duct.
- Connecting the Duct: Insert the duct through the hole, ensuring a snug fit. If using flexible ducting, ensure it is properly supported to avoid kinks or sags.
- Sealing the Joints: Utilize metallic duct tape to secure joints and connections. This prevents air leaks, which can diminish dryer efficiency. Avoid using regular tape; it may not withstand the heat.
6. Attaching the Vent Cap
Final Touches
After connecting the duct inside the wall, it’s time to attach the vent cap.
- Screwing on the Cap: Place the vent cap over the exterior hole and secure it with screws. Ensure the cap’s flaps open freely when the dryer is in use and close tight to prevent outside air from coming in.
- Testing for Proper Flow: After installation, turn the dryer on and check if air is blowing out of the vent cap correctly. If there are issues with airflow, reassess the ductwork for potential blockages or kinks.
Cleaning Your Dryer Vent
1. Understanding the Importance of Cleaning
Preventing Fire Hazards
Over time, lint can accumulate in your dryer vent, significantly increasing the risk of fire and obstructing airflow. Regular cleaning is essential for maintaining efficiency and safety.
- Lint Buildup Problems: Lint buildup can lead to longer drying times, increased energy costs, and, more critically, fire hazards. It is recommended to clean the vent at least once a year or more frequently if you use your dryer often.
2. Gathering Cleaning Supplies
Tools for Effective Cleaning
To effectively clean your dryer vent, gather the following materials:
- Vacuum Cleaner with Hose Attachment: A vacuum with a long hose will help you reach deep within your dryer and vent.
- Vent Cleaning Brush Kit: These kits often come with flexible rods and brushes that allow you to scrub the inside of the vent.
- Microfiber Towels: Useful for cleaning around the dryer or duct entry points.
3. Disconnecting the Dryer
Safety Precautions
Before cleaning, safety is paramount.
- Unplug the Dryer: Always ensure the dryer is disconnected from the power source to avoid any accidents while cleaning.
- Remove the Vent Hose: Carefully detach the duct from both the dryer and the wall vent. This ensures you can access all portions of the vent thoroughly.

4. Cleaning Process
Thorough Vent Cleaning
Engage in a systematic cleaning approach to ensure nothing is overlooked in the process.
- Vacuuming the Duct: Insert the vacuum hose into the duct, providing powerful suction to remove any loose lint buildup. Ensure to reach as far into the duct as possible to dislodge embedded debris.
- Using a Vent Cleaning Brush: With the vent cleaning brush, scrub the interior of the duct. The bristles will help dislodge stubborn lint that accumulated over time. Be gentle but thorough as you push the brush through bends in the duct.
- Cleaning the Dryer itself: Check the lint trap and clean it with a lint brush or vacuum attachment. This step ensures that any residual lint does not contribute back into the system.
5. Inspecting the Vent Cap and Exterior
Maintaining Quality
Don’t forget to check the exterior components of the vent system.
- Cleaning the Cap: Ensure that the vent cap’s openings are clear of lint and blockages. The flaps should open and close freely. If the exterior cap is damaged, replace it to ensure proper ventilation.
- Inspecting All Connections: Look for any signs of wear or damage along the duct. Regular inspections will help ensure your dryer vents operate optimally and do not pose a risk of fire.
Long-Term Maintenance Tips
1. Establishing a Cleaning Schedule
Creating Good Habits
Maintaining cleanliness doesn’t end after one thorough cleaning; establishing a routine is crucial for optimal performance.
- Regular Interval Cleaning: Plan to clean your dryer vent at least once or twice a year. If you do a significant amount of laundry or have pets, consider increasing this frequency.
- Watch for Signs of Clogging: Pay attention to changes in drying times or abnormal sounds from the dryer. These could signal that it’s time for another cleaning.
2. Awareness of Warning Signs
Recognizing Problems Early
Being attentive to the signs of potential issues with your drying system can prevent larger problems.
- Longer Drying Times: Increased drying times indicate airflow problems and may suggest a buildup of lint in the vent.
- Overheating: If the dryer feels unusually hot during operation, it could indicate poor airflow. Always check for clogs in the venting system.
3. Seeking Professional Help
When to Call a Technician
If you notice persistent problems despite your cleaning efforts, it may be time to seek professional assistance.
- Specialist Services: Many appliance repair services specialize in cleaning dryer vents. They have advanced tools and expertise to safely clean and inspect your venting system.
- Safety Inspections: Consider having an annual professional inspection to ensure your dryer and venting system function optimally and safely.
Conclusion: Ensuring Efficiency and Safety
The Importance of Proper Vent Installation and Maintenance
Adhering to the guidelines laid out in this complete guide will ensure that your dryer vents is properly installed and well-maintained. A correctly installed vent allows for efficient dryer operation, while regular cleaning protects against fire hazards and promotes an energy-efficient home.
A Collective Effort
Remember, maintaining your dryer and venting system is not a solo endeavor. Engaging your family members and educating them about proper laundry care and dryer safety can promote a collective effort in maintaining the appliance. Simple practices, like cleaning the lint trap after each use, can significantly contribute to safety and efficiency.
Sustaining Performance
The small effort needed for maintenance pays off handsomely in terms of safety, efficiency, and longevity of your appliances. Proactive attention to your dryer and vent not only ensures seamless operation but also protects your home from potential fire risks associated with lint buildup.
Enjoy the Benefits
With your dryer vents installed and maintained correctly, you can enjoy laundry days with peace of mind, knowing that your equipment functions optimally, safely, and effectively. By remaining vigilant about installation and cleaning, you can extend the lifespan of your appliances and maintain a clean, efficient, and safe living environment. Happy drying!