
Preparing for Installation
Understanding Dryer Vent Importance
A dryer vent installation is critical for expelling hot air and moisture from your dryer to the outside of your home. Proper installation prevents lint build-up, which is a leading cause of dryer fires, thereby ensuring a safe laundry routine. Additionally, a well-installed vent contributes to your dryer’s efficiency, shortening drying time and reducing energy usage. Understanding this importance sets the stage for a careful and informed installation process, underscoring the need for attention to detail in every step.
Gathering Necessary Tools
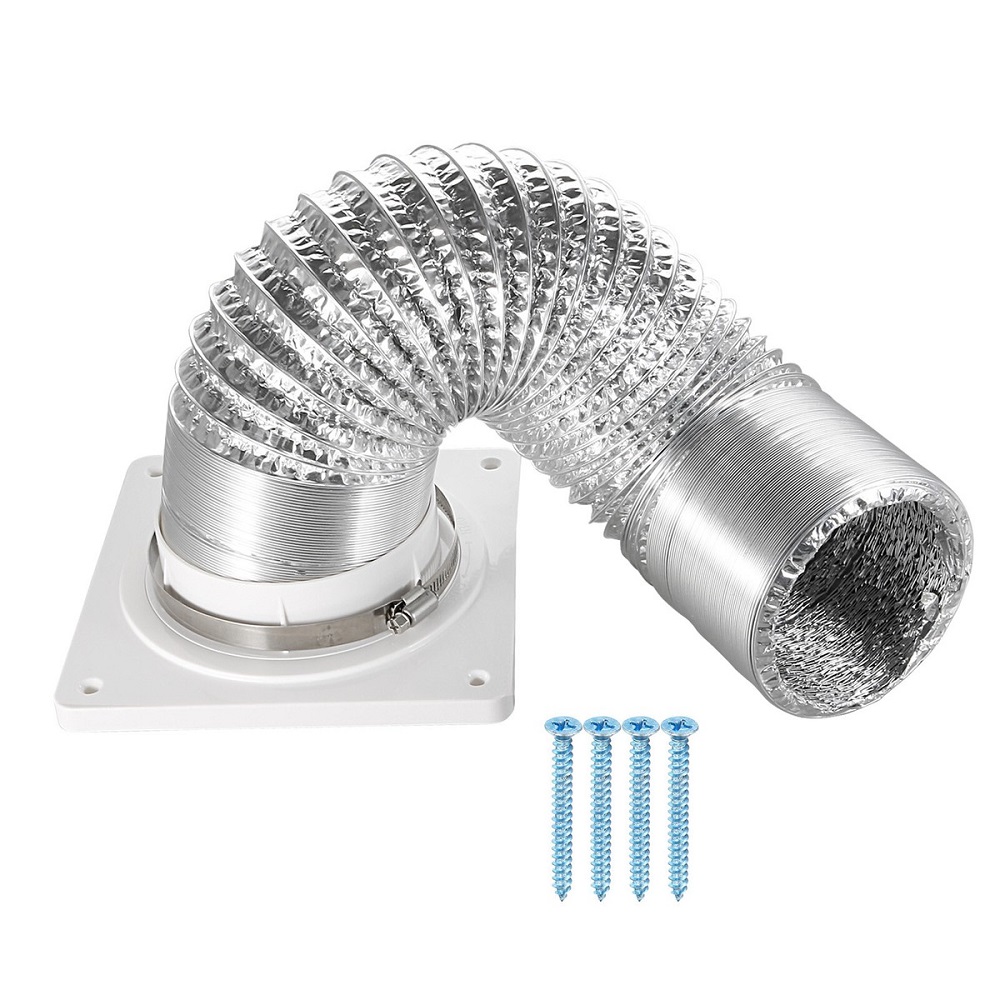
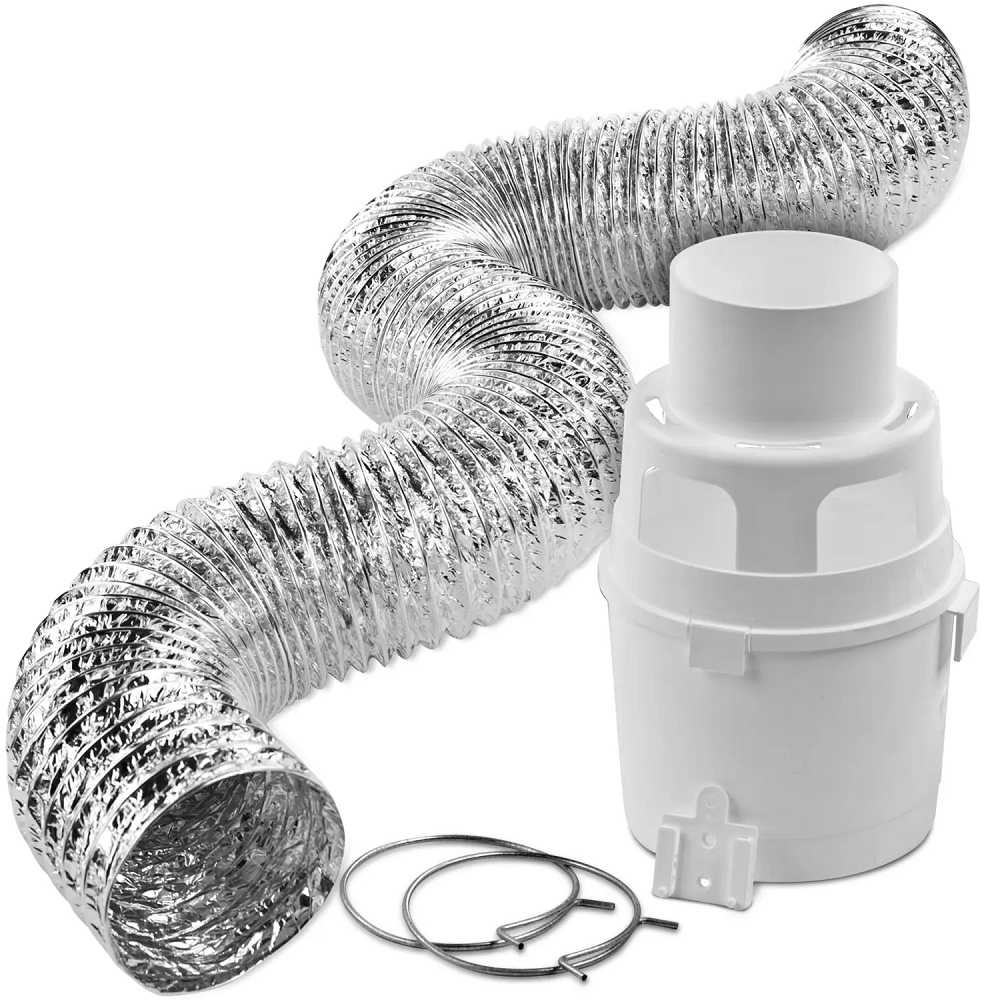
Before embarking on the DIY installation, assemble all the essential tools to avoid interruptions. You’ll need a dryer vent kit, reliable measuring tape, durable dryer vent hose, precise tin snips, a power drill, and screwdrivers. Safety gear, including goggles and gloves, is indispensable to protect yourself during installation. Having these tools readily available streamlines the process and ensures you can focus on accurate and efficient installation without having to pause to gather items.
Choosing the Right Materials
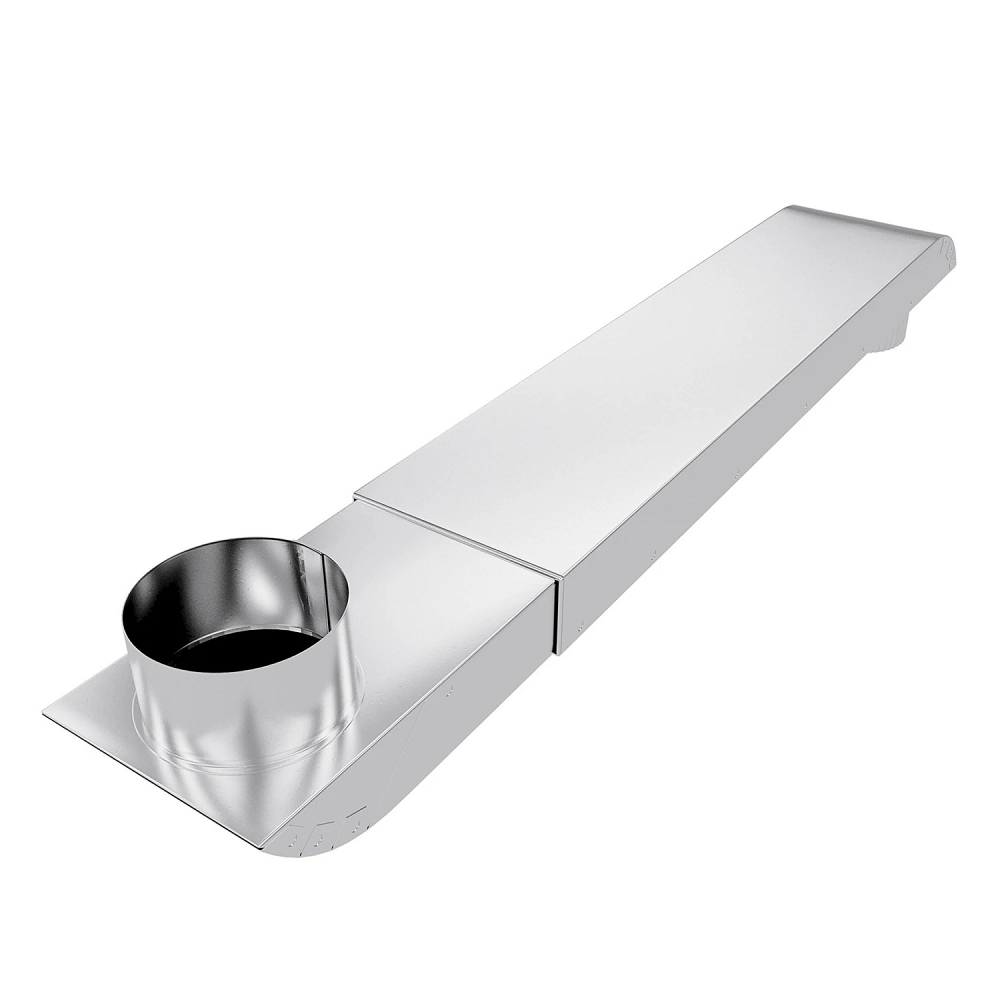
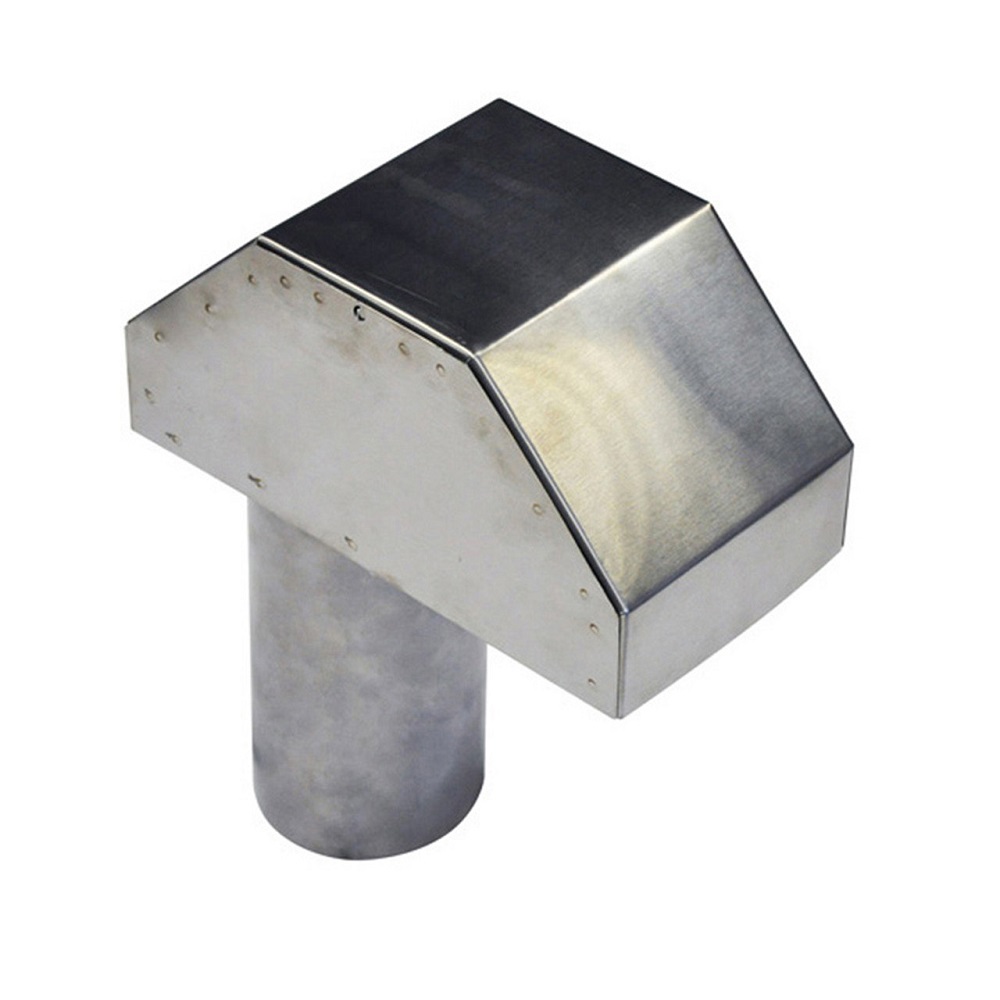
Selecting the right materials is crucial for ensuring the longevity and safety of your dryer vent installation setup. Opt for metal vent hoses due to their better heat resistance compared to plastic versions, which pose fire hazards. Additionally, choose an exterior vent hood that withstands weather conditions, such as galvanized steel for rust resistance. Quality materials not only promise a longer-lasting installation but also enhance the safety and functionality of your dryer, making the upfront investment worthwhile.
Planning the Vent Path
Assessing the Area
Planning begins with assessing the area where the dryer is located to determine the most efficient path for the vent. Consider both the direct distance to the exterior wall and potential obstructions, avoiding complex paths that could hinder airflow. A straightforward route minimizes the risk of lint build-up and reduces the likelihood of future maintenance issues. Assessing the area with precision lays the foundation for efficient installation and long-term dryer performance.
Measuring Dimensions
Accurate measurements are essential for ensuring that your dryer vent will fit correctly and function optimally. Start by measuring the distance from the dryer’s exhaust port to the exit point on your chosen exterior wall. This ensures you purchase a vent kit of the correct length and prevents costly or inconvenient adjustments later. Double-check all measurements to confirm accuracy, as precision in this initial step supports the entire installation process.
Planning the Exit Location
Choosing the right exit location influences efficiency and safety. Opt for an exterior wall location that is accessible and free from interference by other outdoor elements, such as air conditioning units or doorways. Positioning the exit vent away from high traffic areas prevents accidental damage and ensures unimpeded air flow. Strategic placement also aids in minimizing exposure to adverse weather, contributing to long-term vent performance.
Cutting the Vent Opening
Marking the Cut Area
Use precision when marking the cut area for the vent opening. With a pencil, outline the dimensions on your wall or siding, aligning meticulously with your measured path. It’s crucial to double-check measurements and placements before making any cuts, as accuracy prevents mistakes that could complicate the installation. A correctly marked cut area ensures ease in cutting, fitting, and securing the vent components.
Cutting with Precision
Cut the vent opening using tools like tin snips or a hole saw while adhering closely to your marked outline. The goal is to achieve smooth, clean cuts with minimal jagged edges, enhancing fit and preventing air leaks. The effectiveness of your cutting directly impacts the ease of installation and the vent’s performance. By cutting with precision, you set the stage for efficient assembly and a robust dryer vent system.
Safety Precautions
Adhering to safety precautions during cutting is essential to prevent injury and ensure installation success. Wear protective gloves to safeguard your hands from sharp edges and goggles to shield your eyes from debris. Maintain stable footing and keep cutting tools secure to avoid accidents. Observing these safety measures provides peace of mind, allowing you to focus on quality installations without risk.
Installing the Vent Tube
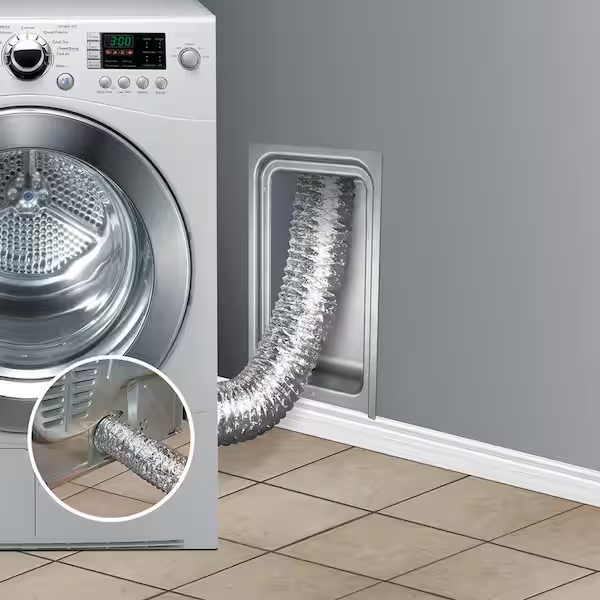
Connecting to the Dryer
Secure connections are vital when attaching the vent tube to the dryer. Use hose clamps to fasten the tube firmly to the exhaust port, ensuring a tight and secure fit. Tight connectivity prevents air leaks that can compromise dryer efficiency and cause lint buildup. The connection marks the primary link between your dryer and its ventilation system, playing a crucial role in functional and safe drying cycles.
Securing the Vent Path
Ensuring the vent tube is secure along its path requires the use of brackets or straps. Position the tube with gentle bends to maintain airflow and prevent kinks, which can impede air movement and lead to blockages. Proper tube placement reinforces structural integrity, minimizes the risk of detachment, and supports consistent dryer operation. Secure tubing lays the groundwork for uninterrupted, efficient airflow.
Testing for Airflow
Conduct a thorough test of airflow post-installation. Turn the dryer on and observe the air movement through the vent, checking for strong and unobstructed flow. Confirm that air exits the home efficiently, indicating successful assembly and readiness for regular use. Testing validates the installation process and highlights potential areas for adjustment before full operational use.

Installing Exterior Vent Hood
Positioning the Hood
Properly aligning and positioning the vent hood is crucial for optimal functionality. Ensure the hood aligns precisely with the vent tube to facilitate unobstructed air flow. Correct positioning also prevents backflow of air and protects against environmental debris entering the vent. The hood acts as the final barrier in this system, safeguarding the exterior opening and optimizing the overall venting process.
Securing and Sealing
After positioning, secure the vent hood with appropriate screws to guarantee stability against outdoor conditions. Apply sealant around the edges of the hood to prevent drafts and moisture infiltration, which could compromise efficiency. A securely attached and sealed hood maintains consistent airflow and offers protection from outside elements, promoting longevity and performance.
Weatherproofing Measures
Fortify your installation with weatherproofing measures to ensure durability. Select vent hoods equipped with protective flaps that close when not in use, shielding the vent from adverse weather. Additional weatherproofing steps, such as applying waterproof sealant, provide extra protection against moisture and rust. These measures enhance the life span of the dryer vent installation, ensuring it withstands seasonal changes and maintains optimal function.
Ensuring Proper Venting
Checking for Obstructions
Routine checks for obstructions within the vent path are vital for maintaining airflow. Inspect for bent tubes or blockages in and around the vent hood, which could impede air movement. Regular maintenance ensures consistent dryer performance and reduces the potential for fire hazards caused by excessive lint accumulation.
Maintaining Vent Integrity
Ongoing maintenance is key to preserving vent integrity. Regularly inspect all connections and assess the condition of the vent tube for signs of wear or damage. Promptly secure any loose fittings and address tube replacements as necessary to sustain consistent dryer operation. Reliable maintenance enhances the longevity of your vent system, ensuring effective air expulsion.
Optimizing Efficiency
Regular cleaning of lint and debris from the vent tube optimizes dryer efficiency. Ensure filters remain clear to prevent blockages that could extend drying times and increase energy usage. Efficient vent systems directly reduce drying durations, lower energy expenditure, and contribute to a more sustainable household routine.
Final Adjustments and Testing
Inspecting Installation
Conduct a comprehensive inspection of the entire installation to identify any inconsistencies or issues. Verify secure connections, ensuring full alignment of tubes and properly fastened hoods. A detailed inspection confirms reliability before full usage and prevents future complications.
Conducting Test Runs
Test the vent system using several dryer cycles. Monitor air movement and exterior temperature around the vent exit thoroughly to ensure functionality. Successful test runs confirm operational readiness and reassure homeowners of the installation’s optimal performance, readying for continuous use.
Making Necessary Adjustments
Based on test run results, make any necessary adjustments to enhance airflow. Tighten loose clamps and reposition tubes for better alignment. Small modifications, optimizations, and re-checks refine system performance and provide assurance in safe functionality, reinforcing the installation success.
DIY Safety Tips
Handling Tools Safely
Handle tools with care and adhere to safety guidelines. Follow manufacturer instructions for each tool to avoid misuse and potential injury. Secure and store cutting implements when not in use to prevent accidents. These practices reinforce safe and confident installation sessions.
Working with Electrical Devices
Exercise caution when dealing with electrical connections related to the dryer. Disconnect power sources prior to installation and be mindful of wiring placements to prevent hazards. Prioritizing electrical safety reinforces overall installation confidence and ensures safe equipment operation.
Using Protective Gear
Personal safety is paramount, necessitating the use of protective gear throughout the installation. Goggles prevent eye injuries from particulates, while gloves shield hands from sharp edges during cutting and vent attachment. Utilizing appropriate gear minimizes risks and boosts self-assurance during the installation process.
Common Installation Pitfalls
Overlooking Measurements
Ensure no measurements are overlooked to avoid misalignments or errors in the installation process. Double-check all dimensions and placements prior to executing cuts to confirm accuracy. Precise measurements support proper fitting and functionality, securing the overall integrity of the installation.
Ignoring Material Quality
Material quality significantly impacts both safety and longevity of vent installations; it should not be ignored. Prioritize durable, fire-resistant vent components over cheaper alternatives to ensure lasting effectiveness. Quality materials enhance installation reliability and reduce safety concerns over time.
Rushing the Process
Resist the temptation to rush the installation. Allocate sufficient time for each step to prevent oversights and mistakes, ensuring quality results through careful and measured execution. Patient pacing yields dependable outcomes and higher satisfaction levels for homeowners.
Maintaining Vent Health
Regular Cleaning Practices
Implement regular cleaning practices to maintain optimal vent health. Periodically remove lint build-up from tubes and conduct vent hood cleanings to ensure unobstructed airflow throughout the year. Consistent maintenance directly prevents blockages and promotes efficiency.
Annual Inspections
Conduct annual inspections to evaluate the condition of your dryer vent installation system. Check for wear and tear, replacing worn components as necessary to uphold functionality. These inspections proactively safeguard system performance and security as seasons change.
Addressing Issues Promptly
Act promptly when addressing vent issues to sustain performance and prevent exacerbation of problems. Repairs should be executed immediately upon discovery of any damage or obstruction. Timely intervention maintains dryer efficiency and overall home safety.
Advantages of Proper Installation
Enhanced Safety
Proper dryer vent installation significantly enhances safety by preventing lint buildup that can lead to fire hazards. Consistent and robust airflow prevents overheating, securing peace of mind and safeguarding homes from potential risks associated with improper venting.
Improved Efficiency
Efficient vent installations improve drying times and conserve energy. Proper vent paths reduce stress on dryer systems, lowering utility costs and enhancing all-around operational efficiency. Homeowners benefit from tangible gains in financial savings and environmental conservation.
Longevity of Equipment
Proper installation contributes to the extended lifespan of dryer units by reducing strain and preventing premature wear and tear. Minimizing stress on appliances through efficient venting ensures reliability and performance, prolonging the durability and effectiveness of home equipment for years.
Embracing DIY Projects
Building Confidence
Completing DIY projects, such as dryer vent installation, builds confidence in home maintenance abilities. Success in small tasks demonstrates capability and opens the door for larger home improvement projects. Confidence gained from DIY enhances self-reliance and empowers homeowners with skill growth.
Cost Savings
DIY installations deliver substantial cost savings by eliminating professional service fees. Purchasing materials directly and executing installations independently reduce overall expenses. These budget-friendly approaches maximize homeowner satisfaction and financial efficiency.
Continuous Learning
Engage in continuous learning through a succession of DIY projects. Each task enriches practical knowledge and hones skills for future application. Accumulated experience enhances personal proficiency and bolsters confidence across a wide array of home improvement endeavors.