
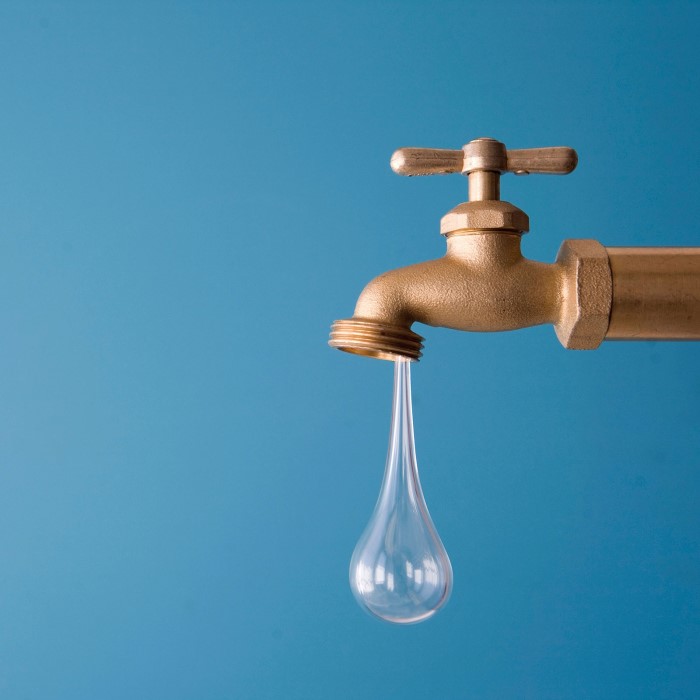
Identifying Your Faucet Type Correctly
Before you begin any repair, you must identify your faucet. This step is absolutely critical for success. You cannot fix the problem if you do not understand the mechanism. Essentially, there are four main types of faucets found in homes. Each operates differently internally. Furthermore, each requires a specific repair approach. First, check the handle configuration. Compression faucets are very common in older homes. They typically use two separate handles. One handle controls hot water, and the other controls cold. You must turn the handles tightly to stop the flow. Therefore, if you see two handles, it might be a compression model. However, do not rely on handles alone. Some disc faucets also use two handles.
Next, look for a single handle. If your faucet has one handle, it is likely a ball, cartridge, or disc type. Ball faucets are common in kitchens. They have a single handle that sits on top of a dome-shaped cap. Inside, a metal ball controls the water flow. Cartridge faucets also use a single handle. How to fix a leaky faucet? However, they operate with a movable cartridge stem. You move the handle up or down to turn water on. Then, you move it left or right for temperature. Finally, disc faucets are a newer design. They use a single lever on top of a wide cylinder.
Inside, ceramic discs control the flow. Identifying the correct type helps you buy the right parts. Consequently, you avoid wasted trips to the hardware store. Additionally, you save time during the actual repair. If you are unsure, check the manufacturer’s website. You can often find diagrams online. Therefore, take your time with this identification step. It ensures a smooth repair process later.
Essential Tools and Preparation Steps
How to fix a leaky faucet? Proper preparation makes any DIY job easier. You do not want to run to the store mid-repair. Therefore, gather all your tools before you start. First, you need an adjustable wrench. This tool helps you loosen supply lines and nuts. Second, get a set of screwdrivers. You will likely need both Phillips and flathead types. Handle screws vary by manufacturer. Third, you need a pair of slip-joint pliers. These help grip stubborn parts. Additionally, you should purchase a replacement kit. These kits contain the specific parts for your faucet model. For example, a faucet repair kit usually includes O-rings and seals. It might also include a new cartridge or ball. Furthermore, you need a basin wrench. This specialized tool reaches behind the sink. It makes removing mounting nuts much easier.
Moreover, preparation involves safety and cleanliness. You must turn off the water supply. Locate the shutoff valves under the sink. Turn the handles clockwise until they stop. Then, open the faucet handles to drain remaining water. This prevents a mini-flood in your kitchen. Also, plug the sink drain. A small cloth or drain cover works well. You do not want tiny screws falling down the pipe. Therefore, cover the drain securely. Next, lay out a towel on the counter. You can place removed parts on the towel. This keeps parts organized and prevents scratches on your sink. Furthermore, take photos with your phone. As you disassemble the faucet, snap a picture. These photos help you remember the assembly order. Consequently, reassembly becomes much simpler. Many people skip this step. However, it is incredibly helpful for beginners. In short, preparation sets the stage for a successful repair.
Repairing a Compression Faucet
How to fix a leaky faucet? Compression faucets are the oldest design. They are also the most likely to leak. This design uses rubber washers to seal the valve seat. Over time, these washers wear out. Consequently, water leaks past the seal. To fix this, start by removing the handle. Look for a decorative cap on top of the handle. Pop this cap off with a screwdriver. Underneath, you will find the handle screw. Remove this screw. Then, pull the handle straight up. Sometimes, it might stick due to mineral buildup. Wiggle it gently to loosen it. Once the handle is off, you see the valve stem. Use your adjustable wrench to unscrew the valve stem. Turn it counter-clockwise. Be careful not to damage the finish.
Once you remove the stem, inspect the rubber washer at the bottom. It is held in place by a small screw. If the washer looks flattened or cracked, it is the culprit. Remove the old washer and screw. Take the stem to the hardware store. Match the old washer to a new one of the same size. This ensures a perfect fit. However, check the valve seat as well. The valve seat is inside the faucet body. If it feels rough, it may have cut the old washer. You can use a valve seat wrench to grind it smooth.
Alternatively, you can replace the seat entirely. Install the new washer onto the stem. Tighten the screw securely. Then, coat the new washer with plumber’s grease. This extends its life. Reassemble the stem and handle. Turn the water back on. Check for leaks. If it still drips, you may need to replace the O-rings on the stem. Therefore, check every seal carefully. This process effectively stops the leak.
Fixing a Cartridge Style Faucet
How to fix a leaky faucet? Cartridge faucets are very reliable. However, they eventually fail too. The cartridge is a self-contained unit. It moves up and down to control water. If your faucet drips, the cartridge likely needs replacement. First, turn off the water supply. Then, remove the handle. On single-handle models, look for a set screw. It is often hidden under a small lever. Loosen this screw to remove the handle. Next, you might see a retaining clip. This thin metal clip holds the cartridge in place. Use a screwdriver to pry this clip out. Be gentle so you do not damage the clip. After removing the clip, pull the cartridge straight up. If it is stuck, use pliers to grip the stem. Wiggle it gently until it comes loose.
Take the old cartridge to the store. There are hundreds of cartridge styles. Therefore, visual comparison is the best way to find a match. Note the brand of your faucet if possible. Brands like Moen and Delta use specific cartridges. Once you have the replacement, inspect the faucet body. Clean out any debris or mineral buildup. You can use a brush and vinegar for this. Then, insert the new cartridge. Make sure it aligns correctly with the notches. If it does not sit flat, water will not flow correctly. Therefore, double-check the alignment. Reinstall the retaining clip. This secures the cartridge in place. Replace the handle and screw. Finally, turn the water back on. Move the handle to test the flow. A new cartridge should stop all leaks immediately. Consequently, the handle will also feel smoother to operate. This repair is quick and highly effective.
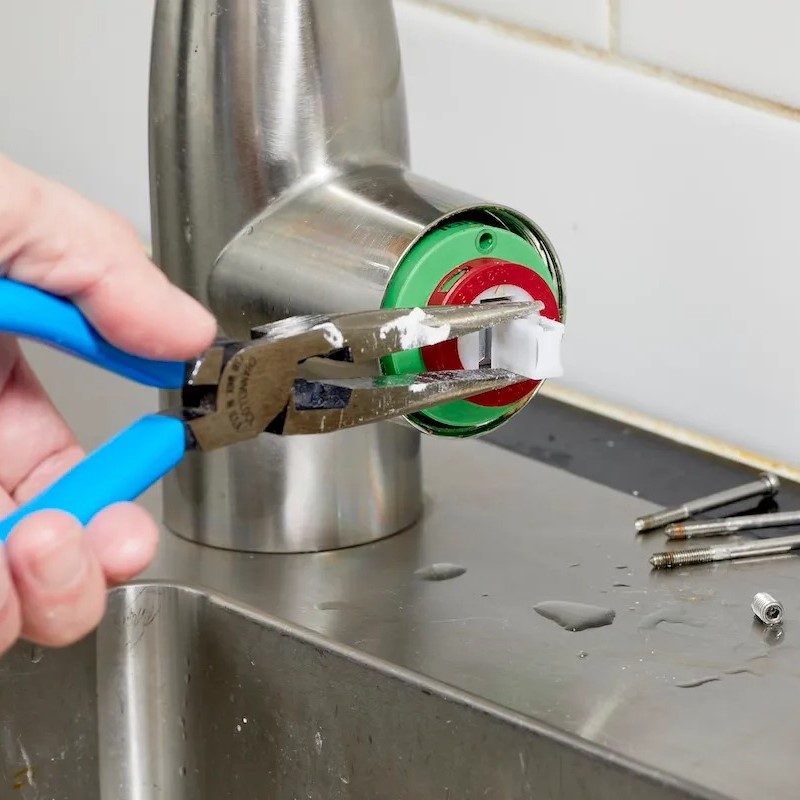
Troubleshooting a Ball Faucet
How to fix a leaky faucet? Ball faucets are common in kitchens. They use a ball bearing to control water. Leaks often occur around the handle or the spout. To repair this, you need a ball faucet repair kit. These kits contain rubber seals and springs. First, remove the handle by loosening the set screw. Then, unscrew the cap using a wrench. Wrap the wrench jaws with tape to protect the finish. Lift off the cam and the ball assembly. Look inside the faucet body. You will see small rubber seals and springs. Remove them with a small screwdriver. Compare the old parts to the new kit. Replace the rubber seals and springs with new ones. This usually fixes leaks from the spout.
However, you must pay attention to orientation. The springs sit inside the seals. Push them firmly into the holes. Next, inspect the ball itself. If it is scratched or corroded, replace it. Most kits do not include a new ball. You may need to buy it separately. Then, reassemble the faucet. Place the ball back in the socket. Install the cam and the cam washer. Screw the cap back on. Do not overtighten this cap. It can crack the housing. Therefore, tighten it just enough to stop water. Reattach the handle. Turn on the water supply. Check for leaks around the base. If the handle leaks, tighten the adjusting ring. This ring is under the handle. A simple tightening often solves the issue. Therefore, a repair kit is your best friend here. It solves the most common ball faucet issues.
Dealing with Ceramic Disc Faucets
How to fix a leaky faucet? Ceramic disc faucets are high-quality and durable. They rarely leak. However, debris can damage the ceramic discs. If this happens, the faucet will drip. Repairing a disc faucet is slightly different. First, remove the handle. Then, unscrew the mounting screws holding the disc cylinder. Lift the cylinder out of the faucet body. You will see the ceramic discs inside. Some models allow you to disassemble the cylinder. Others require a full cylinder replacement. Check the condition of the discs. If they are dirty, clean them with vinegar. Scale buildup can prevent a tight seal. However, if the discs are cracked, you must replace the whole cylinder.
Furthermore, pay attention to the inlet seals. These are rubber seals on the bottom of the cylinder. They look like small O-rings. Replace these seals if they are worn. The repair kit should include new ones. Lubricate the new seals with plumber’s grease. This ensures a good seal. Then, reinstall the cylinder. Tighten the mounting screws evenly. Do not force them. Ceramic is brittle and can break. Therefore, use gentle pressure. Reattach the handle. Turn on the water slowly. It takes a moment for the discs to reset. Run both hot and cold water. Check for leaks. If the leak persists, the cylinder is likely defective. Consequently, you need a new one. This repair is more expensive than others. However, these faucets last a long time. Therefore, the investment is usually worth it.
Addressing Sprayer and Spout Leaks
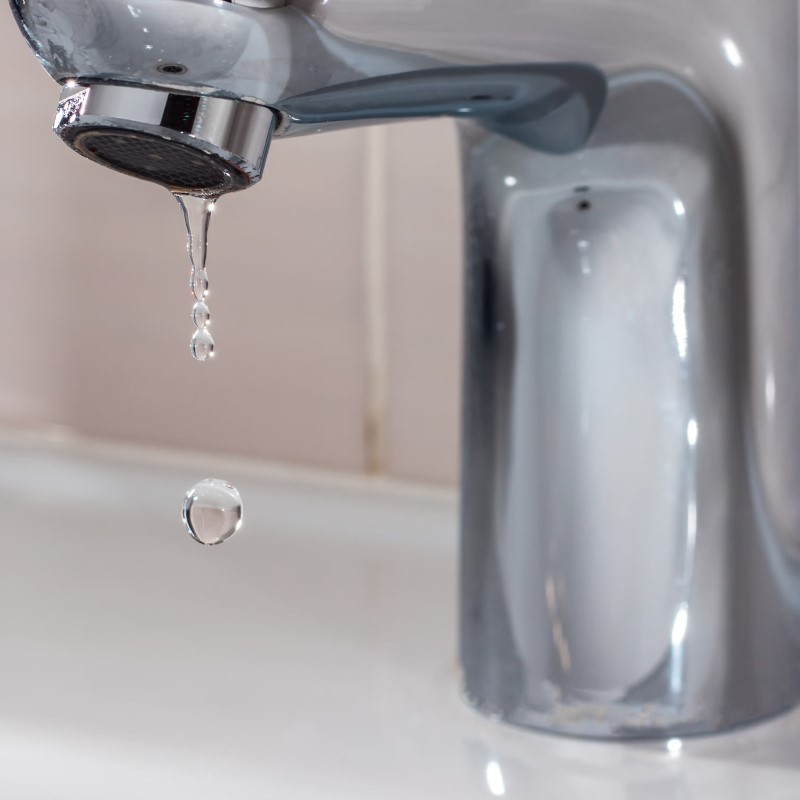
Sometimes, the leak is not from the handle. The water might leak from the base of the spout. This is a different problem. It usually involves the O-rings. These rings seal the spout to the faucet body. To fix this, you must remove the spout. First, take off the handle and any retaining nuts. Then, wiggle the spout upwards. It should slide off the body. Look for O-rings on the faucet body tube. They are usually black and rubbery. If they are cracked, water leaks out the base. Therefore, remove the old O-rings. Use a pick or small screwdriver.
Take the old rings to the hardware store. Match the size exactly. A size that is too small will not seal. One that is too big will not fit. Furthermore, buy a small tube of silicone grease. Lubricate the new O-rings before installation. This helps them slide into place. It also prevents tearing. Slide the spout back onto the body. Rotate it to ensure it moves smoothly. If the spout is hard to turn, the O-rings are too tight. Alternatively, you may need more grease. Additionally, check the diverter valve. This valve sends water to the sprayer. If your sprayer leaks, the diverter might be stuck. Accessing the diverter varies by model. Consult your manual for location. Clean or replace the diverter as needed. Consequently, your sprayer will function correctly. These repairs address leaks that occur outside the main valve.
Preventative Maintenance and Care
Once you fix the leak, you want it to stay fixed. Prevention is always the best strategy. There are several ways to extend your faucet’s life. First, clean your faucet regularly. Use a mild soap and water solution. Avoid harsh chemical cleaners. Abrasive cleaners can damage the finish. Furthermore, they can degrade rubber seals over time. Therefore, stick to gentle cleaning products. Dry the faucet after use. Hard water spots can lead to mineral buildup. This buildup eats away at seals and cartridges.
Moreover, check your water pressure. High water pressure strains faucet components. It forces water past seals. Ideally, home water pressure should be between 40 and 60 psi. You can buy a pressure gauge at a hardware store. If your pressure is too high, install a pressure regulator. This protects your pipes and faucets. Additionally, clean the aerator regularly. The aerator is the screen at the tip of the spout. Unscrew it and rinse out debris. This improves water flow. It also prevents sediment from entering the valve. Sediment acts like sandpaper inside the faucet. It destroys seals and discs. Therefore, keeping the aerator clean protects internal parts. Finally, fix leaks immediately. A small drip puts pressure on other parts. Ignoring it leads to bigger repairs later. By following these tips, you save money. You also keep your plumbing in top shape.
Frequently Asked Questions
How can I get my faucet to stop dripping?
To stop the drip, you must identify the source. First, turn off the water supply. Then, disassemble the faucet handle. Inspect the rubber washers or cartridges. Most drips are caused by worn rubber parts. Replace the washers, O-rings, or the entire cartridge. Reassemble the unit carefully. Turn the water back on to test. If the drip continues, check the valve seat for corrosion. You may need to clean or replace it.
What is the most common cause of a leaky faucet?
The most common cause is worn-out rubber washers or O-rings. In compression faucets, the rubber washer presses against the valve seat. Constant friction wears it down over time. Consequently, water seeps through. In other faucet types, the O-rings dry out and crack. This breaks the seal. Sediment and mineral buildup also contribute to this wear. Therefore, replacing these small rubber parts usually solves the problem.
Can you fix a leaky faucet without replacing it?
Yes, you can often fix a leaky faucet without replacing the entire unit. Most leaks stem from internal components. You can replace washers, cartridges, or ceramic discs. These parts are inexpensive. Furthermore, they are readily available at hardware stores. However, if the faucet body is cracked or severely corroded, you need a full replacement. Otherwise, a repair kit is usually sufficient.
How many years should a faucet last?
A standard faucet should last between 15 and 20 years. High-quality models can last even longer with proper care. However, the internal parts require maintenance. Seals and cartridges may need replacement every 5 to 10 years. The lifespan depends heavily on water quality and usage habits. Hard water and high pressure shorten the lifespan significantly. Regular cleaning helps extend its durability.
Conclusion
A dripping faucet is a frustrating household problem. It disrupts your peace and wastes water. However, you now possess the knowledge to fix it. We have explored the main faucet types. You know the difference between compression and ball faucets. You understand how cartridges and discs work. Furthermore, we have outlined the specific repair steps for each. Learning how to fix a leaky faucet is a valuable skill. It saves you the cost of a plumber. It also gives you a sense of accomplishment. Remember to gather your tools first. Take your time during disassembly. Use photos to help you remember the order. Most importantly, turn off the water supply. With a little patience, you can silence the drip. Your home will be quieter. Your water bill will be lower. Therefore, do not put off that repair any longer. Grab your wrench and get to work today.