
In the modern kitchen, a bread maker stands out as an essential appliance for any home baker. It eliminates the guesswork in bread making, ensuring consistent results with minimal effort. However, many enthusiasts remain unaware of how does a bread maker work in creating that perfect loaf. This article unravels the step-by-step process, delving into the mechanics and functions of a bread maker, from ingredient mixing to baking.
The Anatomy of a Bread Maker
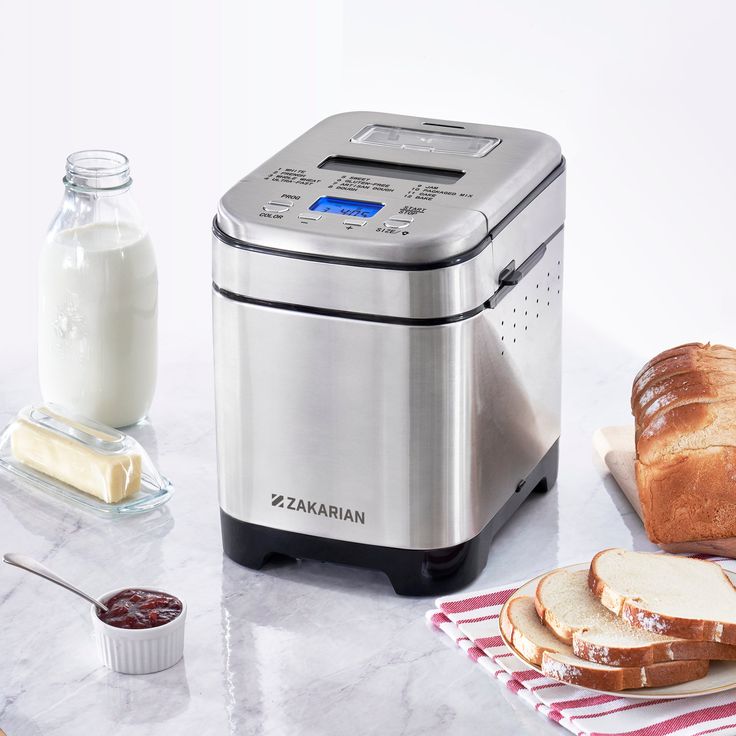
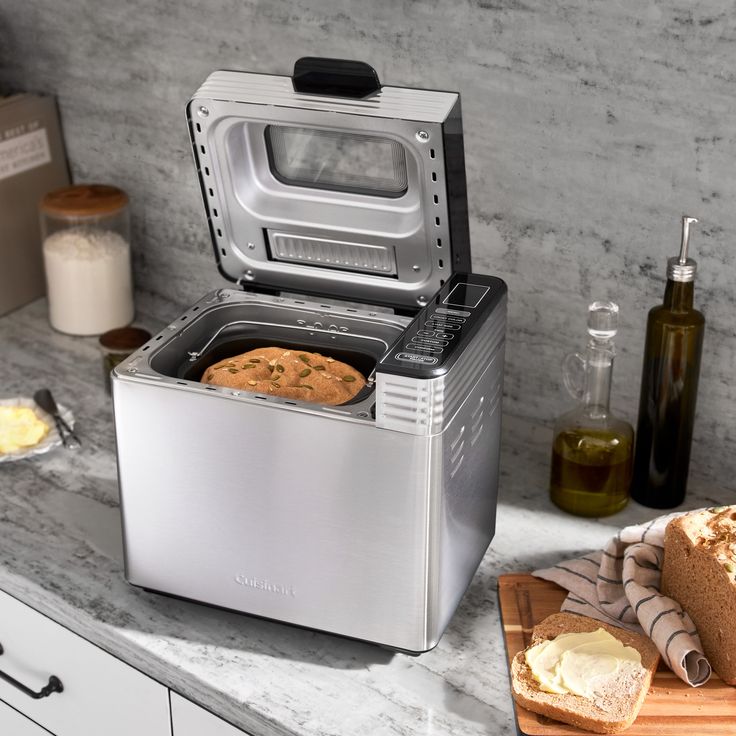
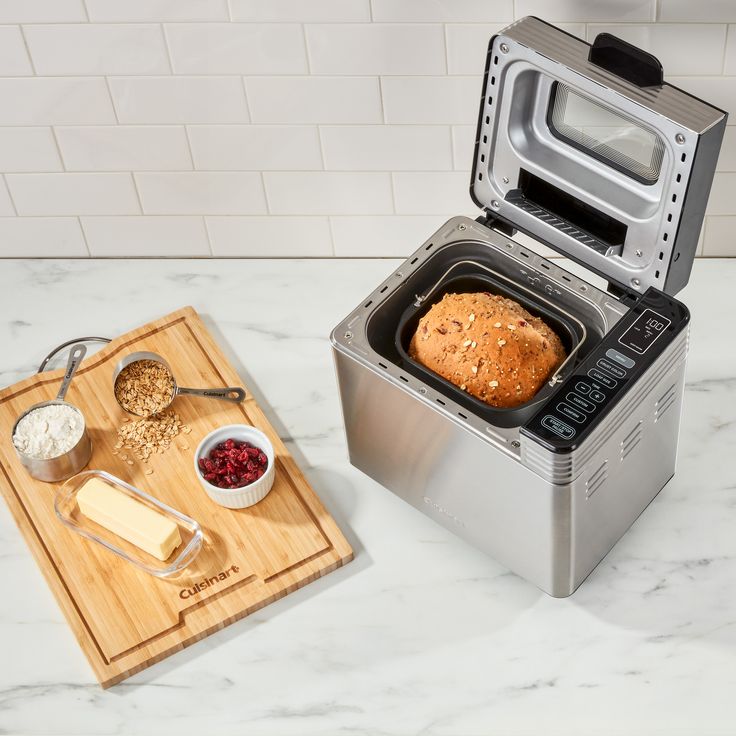
To understand how does a bread maker work, start with its anatomy. A typical bread maker consists of several key components. First, it has a sturdy outer casing that holds all the internal parts. Inside, the machine features a baking pan, a kneading blade, and a heating element.
The baking pan is where you place the ingredients. It has a non-stick interior, which prevents the dough from sticking, and can usually accommodate various loaf sizes. The kneading blade performs the crucial task of mixing and kneading the dough until it reaches the desired elasticity. The heating element surrounds the baking pan and is responsible for regulating the temperature during both the kneading and baking phases.
Most bread makers also include a digital control panel. This feature allows users to select various settings and programs tailored to their baking preferences. By understanding these components, you can appreciate how they all work together to create delicious bread.
Ingredient Preparation: The Starting Point
Understanding how does a bread maker work begins with ingredient preparation. The bread-making process begins with gathering the right ingredients. Commonly used ingredients include flour, water, yeast, salt, and sometimes sugar or fat. The quality of these ingredients directly impacts the final bread product.
When preparing to bake, consider using bread flour instead of all-purpose flour. Bread flour has a higher protein content, leading to a better gluten structure, which improves the loaf’s overall texture. Make sure to measure each ingredient accurately using a kitchen scale or measuring cups; incorrect measurements can affect the dough’s consistency.
Similarly, using fresh yeast ensures that your bread rises correctly. After measuring your ingredients, pour them into the baking pan in the order specified by the bread maker’s manual. Most recipes recommend adding dry ingredients first, followed by wet ingredients. The yeast should remain separate from salt until the kneading begins, as salt can inhibit yeast activity.
The Mixing and Kneading Stage
Now that you’ve prepared the ingredients, the next phase involves mixing and kneading. This stage is crucial in understanding how does a bread maker work effectively. When you close the lid and start the machine, the kneading blade spins and begins to combine the ingredients.
During this process, the machine mixes the dough for a specified period, allowing the ingredients to blend thoroughly. The kneading blade replicates the action of hand-kneading and works the dough until it becomes elastic and smooth. This step is essential for developing the right gluten structure, which gives bread its chewy texture.
The heating element also kicks in during this stage, warming the dough slightly. Warming the dough promotes faster yeast activation, leading to better rising. Most machines have a timer that controls the mixing and kneading periods, ensuring that your dough receives the precise amount of work time.
It is important to monitor the texture of the dough. If your machine allows for observation through the lid, check the consistency. The dough should come together but still remain slightly tacky. If it appears too dry or too wet, adjustments can be made by adding small amounts of water or flour.
The Rising Phase: Allowing the Dough to Develop
After the kneading is complete, the bread maker transitions to the rising phase. This stage is where much of the magic happens, and understanding how does a bread maker work reveals the importance of this period. During rising, yeast fermentation produces carbon dioxide gas, which expands the dough.
Most bread makers incorporate a warm, controlled environment for optimal rising conditions. The machine creates the perfect environment for the yeast to thrive—all while maintaining consistent warmth and humidity. As the gas expands, the dough increases in size, creating air pockets, which are essential for a light, airy loaf.
Bread makers often include a timer function that allows you to set the rising time according to the recipe you’re using. Typically, the rising phase lasts between 30 to 60 minutes. As the dough rises, it’s important not to rush this step. Allowing the dough to rise adequately leads to better flavor and texture in the final product.
Some bread machines include a second rise, often referred to as “punching down” the dough. This process encourages the dough to puff back up after it has initially risen. The kneading blade may incorporate this step automatically, allowing the improved structure before moving on to baking.
The Baking Process: Transforming Dough to Bread
Once the dough has risen sufficiently, the final phase commences—the baking process. At this point, understanding how does a bread maker work becomes important as the machine’s heating element becomes the star. When baking begins, the temperature rises dramatically, and the dough starts to transform into bread.
During baking, the heat causes the proteins in the dough to coagulate, which solidifies its structure. The steam trapped inside the dough helps create a lighter texture, while the outer crust forms as moisture evaporates. Most bread makers come with adjustable crust settings, allowing you to choose between light, medium, or dark crusts based on your preference.
The baking time typically lasts between 45 to 75 minutes, depending on the specific recipe and the bread maker’s selected settings. As the baking progresses, the machine emits delightful aromas that fill your kitchen with the smell of freshly baked bread.
Keep in mind that bread makers automatically adjust the baking duration based on the size of the loaf. Larger loaves may require longer baking times, while smaller loaves will bake more quickly. Always consult the user manual for specific guidance on sizes and baking times.
Cooling and Serving Your Homemade Bread
Once the baking process wraps up, your bread maker beeps to signal completion. It’s now time to explore how does a bread maker work in terms of ensuring the best serving conditions for your freshly baked bread. When the baking timer ends, remove the baking pan with oven mitts, as it will be extremely hot.
Let the bread cool for at least 10 to 15 minutes in the baking pan before transferring it to a wire rack. Cooling is a crucial step. It allows the steam to escape, preventing sogginess in the crust. The cooling process also allows the texture to set, resulting in perfectly sliceable bread.
Once cooled, slice the bread with a sharp, serrated knife to achieve clean cuts. Store your bread in an airtight container or resealable bag to maintain freshness. Homemade bread tends to dry out quickly, so proper storage is vital to prolonging its life.
Consider experimenting with different recipes, ingredients, and features of your machine to discover your family’s favorite breads. You may want to try adding herbs, spices, or even cheese for added flavor.
Industrial Bread Makers: A Different Approach
While home bread makers enhance personal baking experiences, an industrial bread maker operates on an entirely different scale. Industrial bread makers are designed for high-volume production, producing hundreds or thousands of loaves daily. They incorporate similar ingredients and processes but on a much larger platform.
These commercial machines often automate several steps, including weighing and mixing ingredients, kneading dough in large batches, and using conveyor systems for baking and cooling. Understanding the industrial process provides insight into how home bread makers streamline the same functions in compact designs.
Both home and industrial machines rely on the same principles of mixing, rising, and baking, but the industrial versions focus on efficiency and consistency. This understanding adds depth to your appreciation of what happens inside your home bread maker.
Conclusion: Embrace the Bread-Making Journey
Learning how does a bread maker work empowers you as a home baker. Understanding each step—from preparation and kneading to rising and baking—allows you to appreciate the intricacies of bread-making. You can now feel confident in choosing the right unit and making informed decisions for baking at home.
A bread maker transforms cooking into an enjoyable and fulfilling activity. There’s a unique satisfaction that comes from enjoying a slice of warm, homemade bread. As you explore the world of bread-making, keep experimenting with flavors and techniques. This journey not only enhances your culinary skills but also fills your home with delightful aromas and flavorful results. Embrace the joy of making bread, and watch as the simple ingredients turn into something extraordinary with every loaf.