
Understanding the Importance of a Correct Clock
A microwave is a central hub in the modern kitchen. It serves many functions beyond just heating food. However, one feature often causes frustration. That feature is the digital clock. A flashing “12:00” is a common sight in many homes. It creates a sense of disorder. Consequently, knowing how to change time on microwave units is an essential skill. It restores peace to your kitchen environment. Furthermore, the clock serves a practical purpose. Many people rely on their microwave for the time. They do not wear watches while cooking. Therefore, an accurate clock helps with timing recipes. It ensures you do not overcook your meals. Additionally, a correct time display contributes to the aesthetic of the room. It looks professional and tidy.
Moreover, the clock often ties into other functions. Delay start features rely on the correct time. If the time is wrong, your food will not cook when you want it to. Thus, this small detail affects the overall utility of the machine. You should not ignore that blinking light. Taking a few minutes to fix it is worth the effort. You will feel more organized. Your kitchen will look better. This guide will walk you through the general processes. It will also explain why this knowledge is so valuable today.
General Methods for Most Standard Microwaves
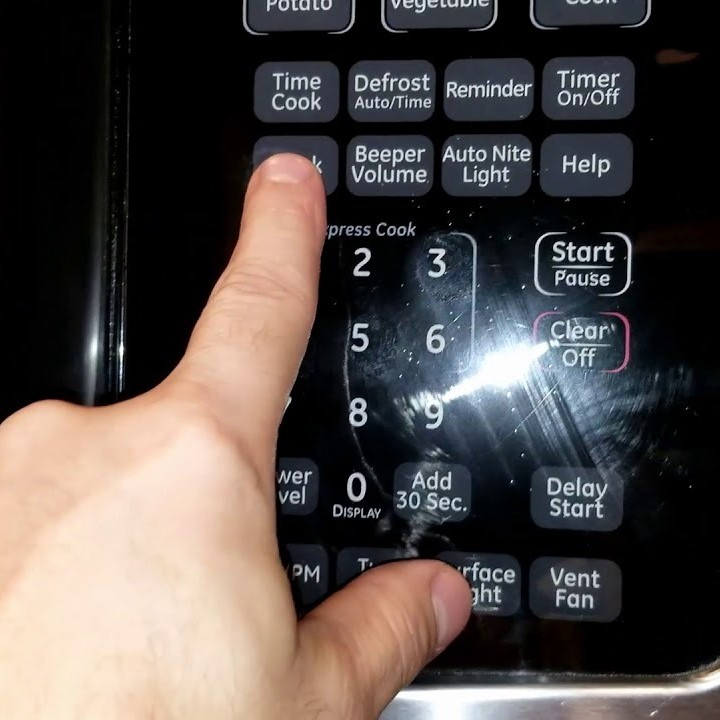
Most microwaves follow a similar logic. You will usually find a “Clock” or “Settings” button. This is the starting point for most adjustments. First, you must locate this button on the control panel. It is often clearly labeled. However, sometimes it shares a button with another function. For instance, you might need to press “Clock” twice. Once you press the button, the display will change. It typically asks for the current time. Consequently, you must use the number keypad. Enter the exact hour and minutes. For example, if it is 2:30 PM, you type 2, 3, 0. Furthermore, some models differentiate between AM and PM. You might need to press the “Clock” button again to toggle.
Others use a separate “AM/PM” button. After entering the numbers, you usually press “Start” or “Clock” again. This confirms the time. The display should stop flashing. If the display continues to flash, you likely made an error. Therefore, you should repeat the process. It is a simple cycle of input and confirmation. Transitioning from an incorrect time to the correct one is satisfying. You solve a minor annoyance quickly. This general method works for many brands. Yet, variations exist. Always look for the instructions on the panel. They are often printed near the buttons.
Specific Instructions for Popular Brands
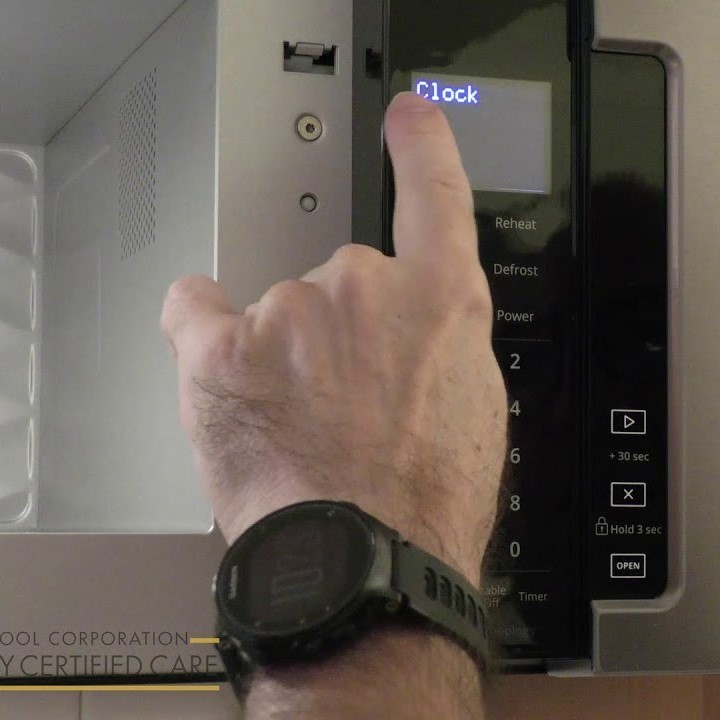
How to change time on microwave? Different brands have unique interfaces. Therefore, the process varies slightly. For example, GE microwaves often use a distinct method. You typically press the “Clock” button. Then, you enter the time. Finally, you press “Clock” again to save. Sometimes, you press “Start” instead. Checking your specific manual is wise. However, the labels are usually intuitive. Similarly, Samsung models often have a “Settings” or “Clock” button. You press it and turn the dial or use the keypad. LG microwaves might require you to press “Stop/Clear” first. This resets the system. Then, you can proceed with the clock setting. Furthermore, Whirlpool models sometimes hide the clock function. You might find it under an “Options” or “Settings” menu.
You use the arrow keys to navigate. Then, you select “Clock” and set the time. Panasonic microwaves are often straightforward. They have a dedicated “Clock” button. You press it, type the time, and press it again. These minor differences can be confusing. But the underlying principle remains the same. You are telling the computer the new time. Consequently, you should not be afraid to experiment. If one method does not work, try a slight variation. You will eventually find the correct sequence.
Troubleshooting Common Clock Setting Issues
How to change time on microwave? Sometimes, the process does not go smoothly. You might encounter issues. A common problem is the display not accepting your input. This usually happens if you press the wrong buttons. Therefore, you should press “Stop” or “Cancel” first. This clears any previous commands. Then, try the sequence again. Additionally, the clock might reset frequently. This indicates a different problem. It might be a power issue. Check if the microwave is plugged in securely. Furthermore, a power surge could affect the settings. If your area had a storm, the clock likely reset. In this case, you must set it again. However, if it happens often without storms, the outlet might be faulty. Another issue involves the AM/PM setting. Many people miss this step.
They set the time for 10:00 AM when it is 10:00 PM. Consequently, the timing for delayed start will be wrong. Always look for a small dot or symbol. This usually indicates the time of day. Moreover, some microwaves have a child lock feature. If this is on, you cannot change the time. You must disable the lock first. Look for a lock icon or instructions in the manual. Solving these small problems makes the process easier.
The Impact of Power Outages on Your Microwave
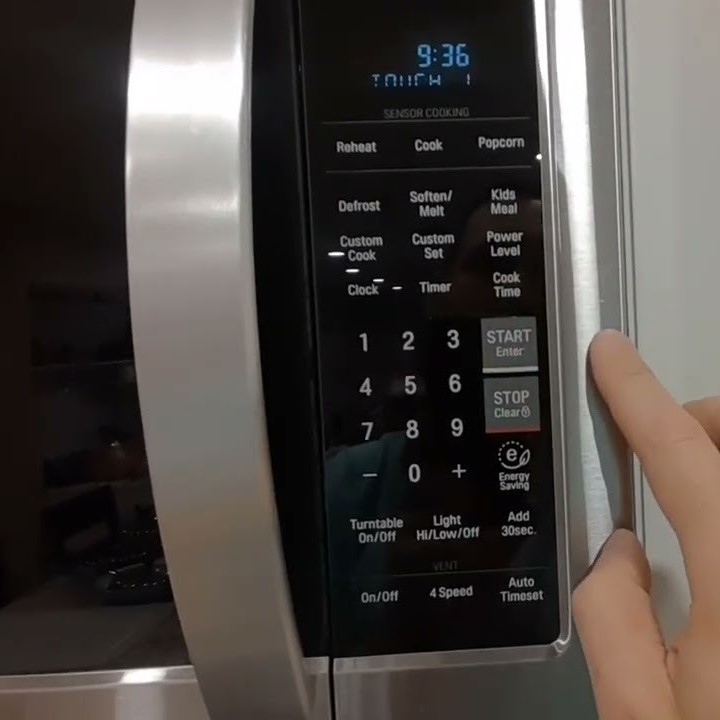
Power outages are the primary enemy of microwave clocks. When the power goes out, the microwave loses its memory. It resets to the default time, which is usually 12:00. Consequently, the display starts flashing. This signals that the time is incorrect. Therefore, knowing how to change time on microwave appliances is vital after a storm. It is a routine task for many homeowners. Furthermore, brief power flickers can be annoying. They cause the clock to reset even if the outage lasts a second. Some newer models have battery backups.
However, most standard units do not. Thus, you must fix it manually. You should invest in a surge protector for your microwave. This can protect the electronic control board. It might also prevent the clock from resetting during minor fluctuations. Additionally, frequent resets can wear out the buttons. You press them more often. Therefore, stabilizing the power supply helps. It extends the life of your appliance’s interface. When the power returns, make setting the clock a priority. It helps you return to normalcy. It is a small step in recovering from a blackout.
Smart Microwaves and Digital Integration
Technology has changed the kitchen. Smart microwaves are becoming popular. These devices connect to your home Wi-Fi. Consequently, setting the time is different. You might not need to use the keypad at all. Instead, you use a smartphone app. The app syncs with the internet time. Therefore, it is always accurate. It updates automatically for Daylight Savings Time. This is a huge convenience. Furthermore, some smart models have voice control. You can ask Alexa or Google Assistant to set the time.
You simply say, “Set the microwave time.” The device responds and adjusts. However, you must set up the connection first. This involves downloading the manufacturer’s app. Then, you pair the microwave with your account. While this sounds complex, it saves time later. Additionally, smart microwaves often have better interfaces. They use digital touchscreens rather than physical buttons. This makes typing the time easier. It feels like using a smartphone. As technology advances, the old flashing “12:00” may disappear. Smart devices manage these details for us. But for now, many people still use standard models. Therefore, knowing both methods is helpful.
Maintenance Tips for Control Panels
How to change time on microwave? The control panel is the brain of the microwave. It needs care to function correctly. Dirt and grime can affect the buttons. For instance, sticky residue might make buttons stuck. Consequently, you cannot press “Clock” or “Start” effectively. Therefore, you should clean the panel regularly. Use a soft, damp cloth. Do not spray water directly onto the panel. Instead, spray the cloth and wipe gently. Furthermore, avoid using harsh chemicals. They can damage the printed labels. If the labels fade, you cannot see which button is “Clock.”
Additionally, steam from cooking can affect the electronics. Use the range hood fan when cooking on the stove. This draws moisture away from the microwave. Moisture can seep into the control board. This causes buttons to fail. If a button becomes unresponsive, the clock setting process fails. Therefore, keeping the panel dry and clean is crucial. It ensures the longevity of the appliance. You can press the buttons with confidence. They will register your input immediately. Good maintenance prevents frustration. It ensures your microwave remains a reliable kitchen tool.
FAQ
How to set microwave time and power?
Most microwaves have a “Time Cook” or “Power Level” button. First, press “Time Cook” and enter the cooking duration. Then, press “Power Level” and select a number from 1 to 10. Finally, press “Start” to begin cooking with your specified settings.
How do I reset the Timer on a microwave?
To reset the timer, press the “Stop/Clear” button once or twice. This cancels the current timer setting. If the timer is counting down, you must stop it first. Then, you can enter a new time or clear the display completely.
How to change time on a smart microwave?
Smart microwaves often sync automatically via Wi-Fi. You can also use the manufacturer’s mobile app to set the time. Alternatively, use voice commands through a connected virtual assistant like Alexa. Some models still allow manual setting via the touchscreen interface.
Conclusion: Mastering Your Kitchen Appliance
In conclusion, the microwave is a vital tool. It requires a small amount of user input to work perfectly. The clock is more than just a timepiece. It is a functional part of your daily routine. Therefore, learning how to change time on microwave models is a necessary skill. It allows you to take control of your environment. You eliminate the annoying flashing light. Furthermore, you ensure your cooking schedules run smoothly. Whether you have a GE, Samsung, or a smart model, the process is manageable.
You just need to understand the specific steps. With practice, it becomes second nature. You will fix the time without thinking. This small act of maintenance improves your kitchen. It brings order to your home. Do not let that blinking 12:00 defeat you. Follow the steps outlined in this guide. You will enjoy a quieter, more organized cooking space. Mastering your microwave starts with the simple task of setting the clock.